Bunting is absolutely adorable and totally customizable for any occasion. We're going to show you how to make fabric bunting for your home, the holidays, or anywhere really!
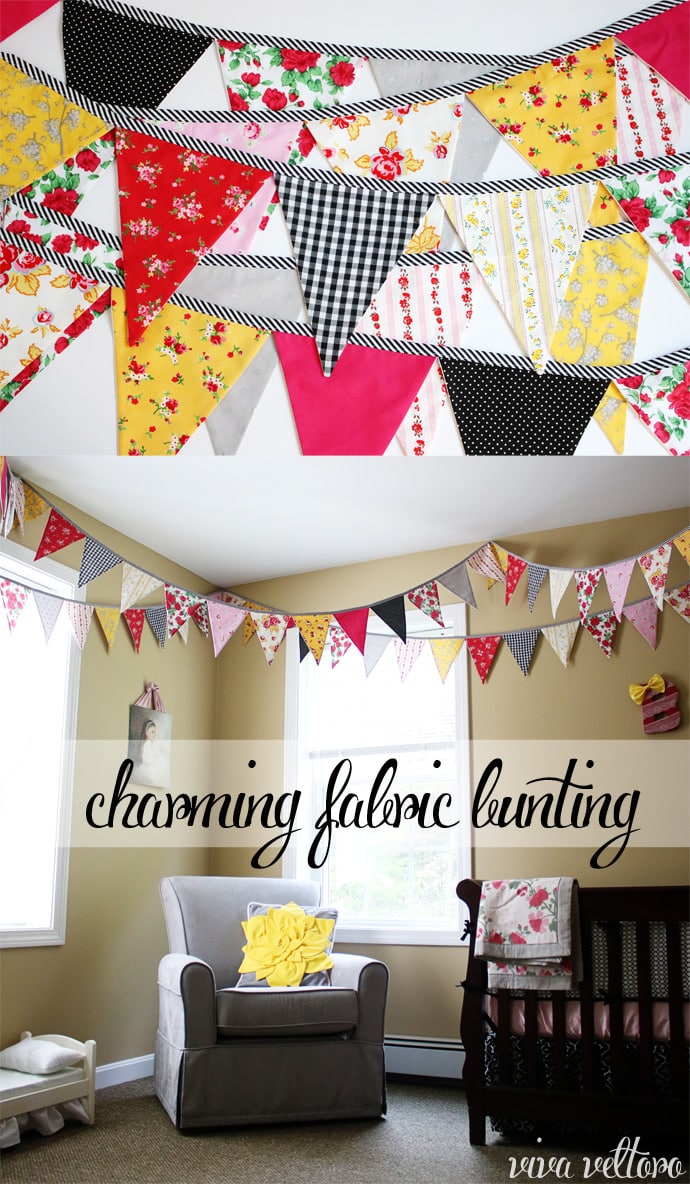
Baby B is five months old and officially getting the boot out of our room and into her new nursery! I had put together a fairly gender-neutral "Hungry Caterpillar" theme for my baby boys, but baby girl needed something uber girly, and I've been having a ball putting all this together! I feel like you can make nurseries over the top and as magical as you want, and bunting is a quick and adorable way to get there fast. I have a lot of pieces in this nursery that I love, but the main event is this fabric bunting, and I'm excited to show you how to put it all together!
How to make fabric bunting.

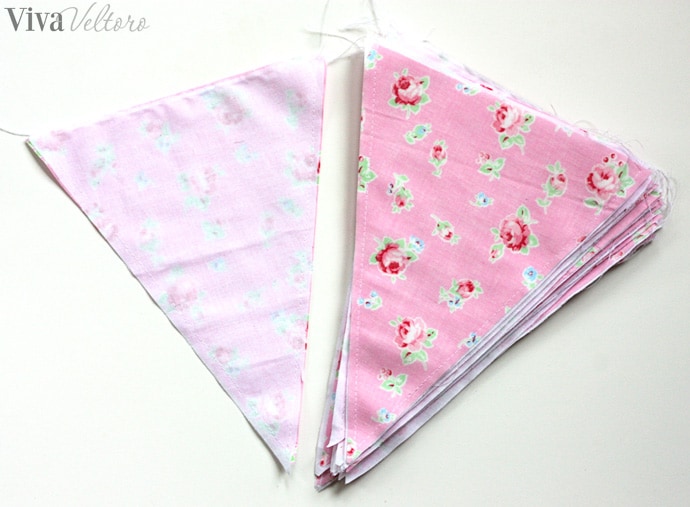
The first step is to gather your fabric. I hand selected my fabric from Joanns, Etsy, and eBay, and used a lot of Pam Kitty's Love Bouquet as well as Milk, Sugar and Flower by Elea Lutz, and got a half yard of each. In retrospect, I definitely should have only gotten a quarter yard of each because this ended up making 50 yards of bunting!! Oy.
I cut each triangle to be 8 inches across the top and 10 inches long down the middle, which would make the long sides about 10.7" if my rusty math is right. Use a rotary cutter on a self-healing mat and definitely cut more than one layer at a time to save your sanity! There is so much repetition in this project, you'll lose your mind if you don't speed up the process along the way!
Remember to get the same amount of yardage in fabric for the back (white in my case), and start sewing up those puppies, right sides together, leaving the top open.
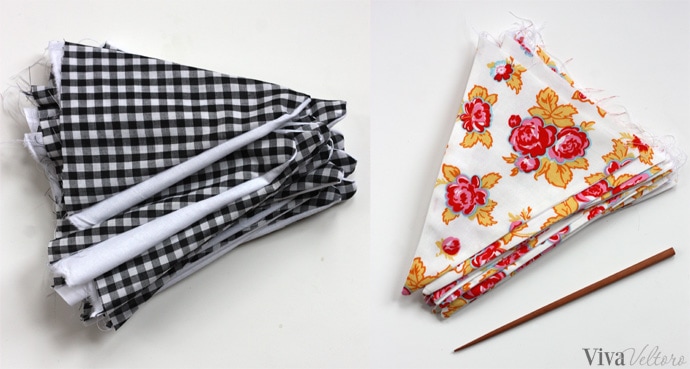
With each triangle, clip off the extra fabric around the tip, turn it inside out, press, and I recommend using a chop stick to poke out the tip.
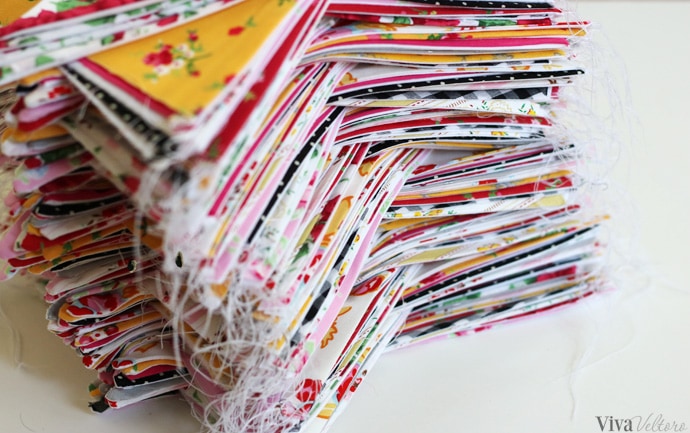
I found it easiest to arrange the triangles in the order I wanted at this point, so that I didn't end up with repeats or forgetting where I left off when I came back to it later. You can make piles of the repeating sequence and stack everything up like so.
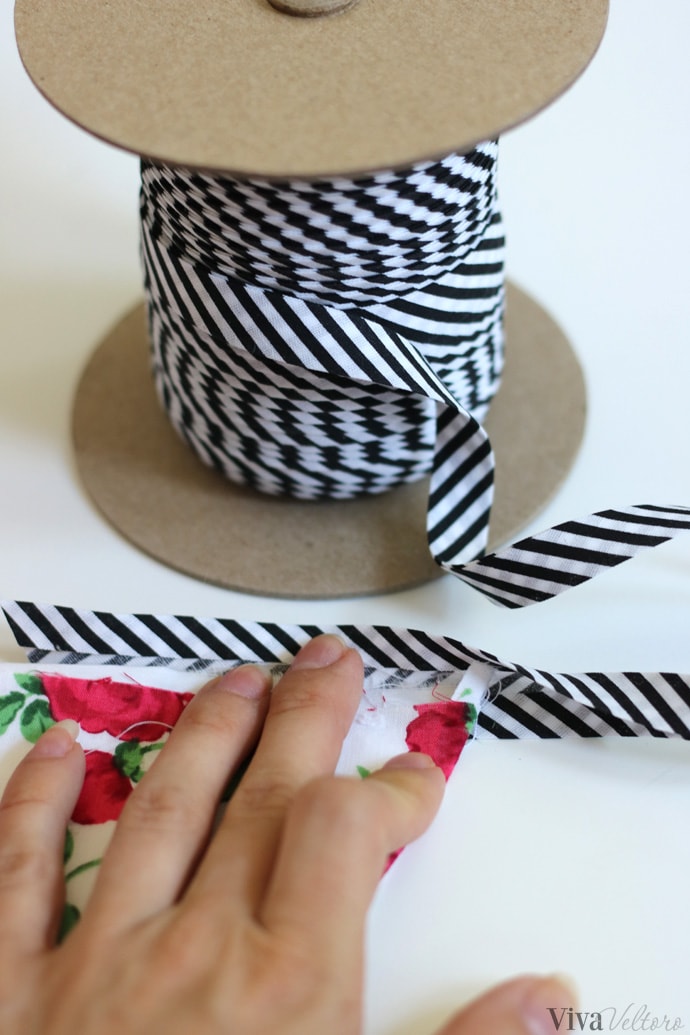
Double fold bias tape is all you need for the rope! I found this 50-yard bolt online for around $15. Just insert your triangles, either right next to each other, or leaving a few inches of space between each, and sew them down close to the edge in one continuous edge-stitch.
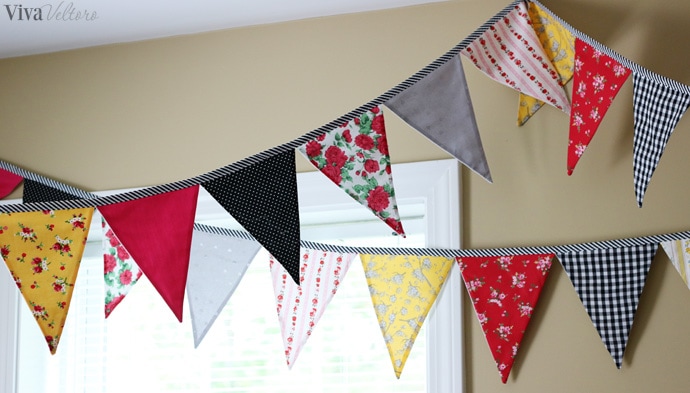
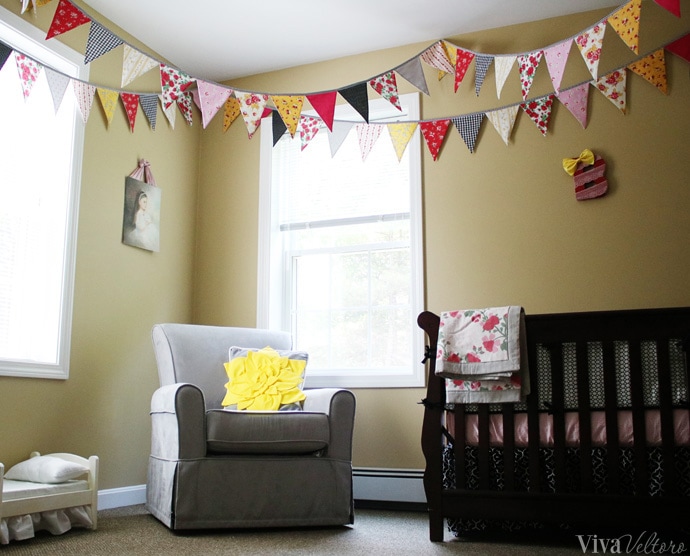
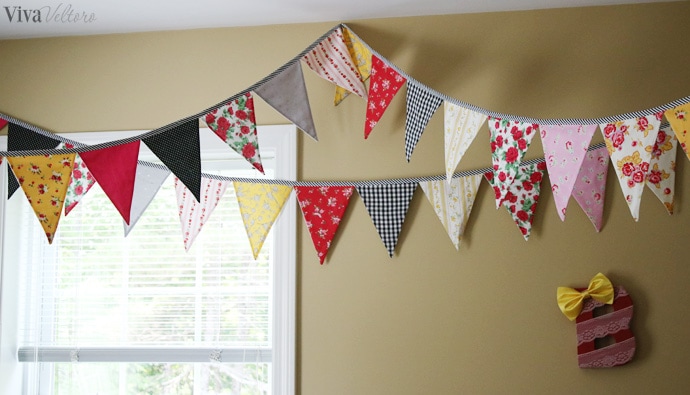
I used about 28 yards to circle the 10' x 10' room twice, and I love how it drops the ceiling a little bit and adds a lot of whimsy! PS -- If you're wondering about the chair, I still can't imagine a more perfect and comfortable choice than this Benbridge Upholstered Glider from Delta Children, and you can read my tutorial on the yellow flower pillow and make your own! My mom painted up this priceless oil painting below, and it is just the icing on the cake for me.

See how easy and fun and how quickly this can dress up a room? With all these summer outdoor activities, can't you picture this bunting being the perfect touch at a birthday party, baby shower, family reunion, patio party, etc?! Enjoy brainstorming your own banner ideas and if you make fabric bunting be sure to share it with us (tag us on social media using @vivaveltoro).
I hope you enjoyed this tutorial on how to make fabric bunting!
If you liked this post, check out our other sewing tutorials:
Check out our other sewing posts:

How to make a hanging hand towel

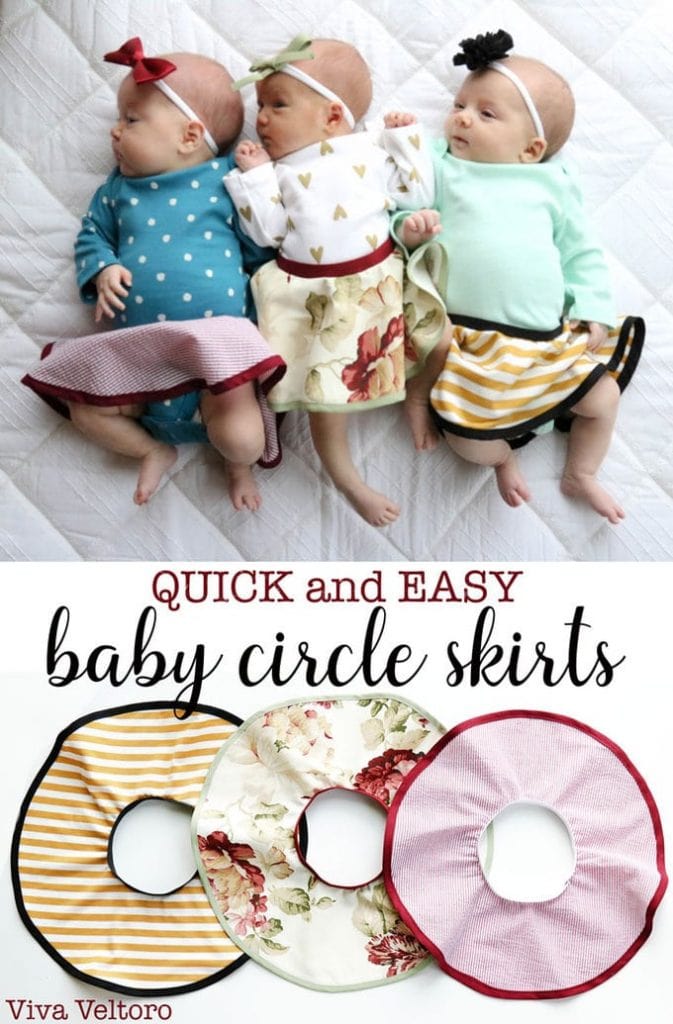
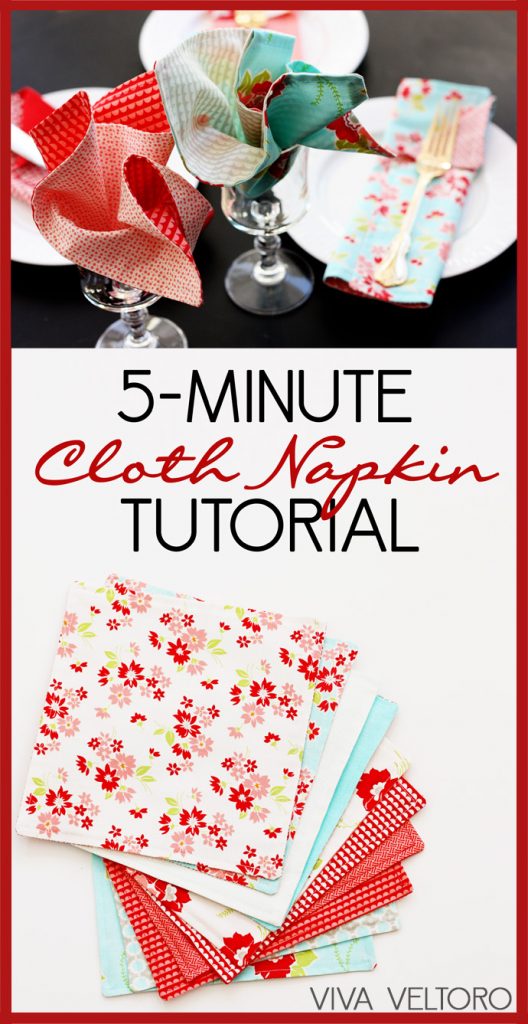
How to make circle skirts for babies
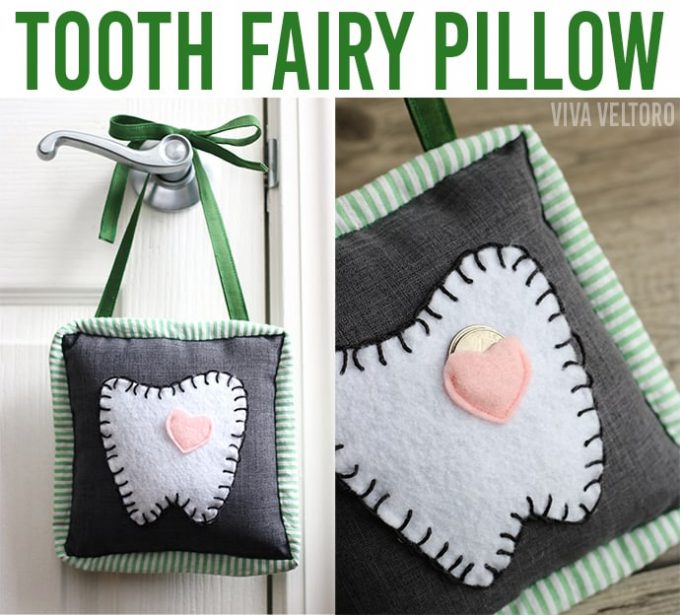
How to make a tooth fairy pillow
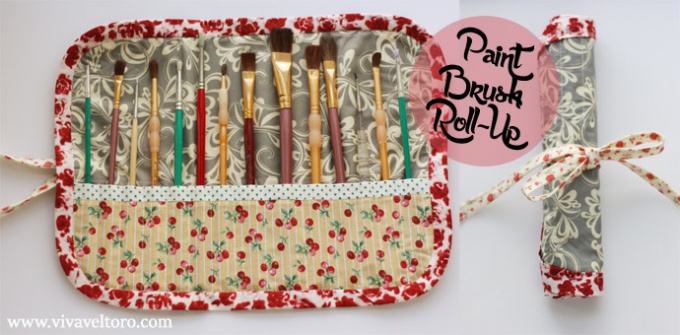
How to make a makeup brush roll
Amber Ludwig says
Omgosh this is just beautiful!!! Thank you for sharing how you did it with us!! I can't wait to have a girl one day and be able to go uber girly for once lol 🙂 I swear decorating the nursery is my favorite thing besides seeing their cute faces for the first time!!
Elisabeth says
I love the floral fabric you used for the bunting!
Melissa K says
That's so cute. I've only ever seen those tacky plastic ones before. I had no idea you could make them look so attractive!
Ashley Chassereau Parks says
This looks great!! This could be used to decorate for parties, baby showers, or just to keep for the nursery... depending on the fabric chosen. What a neat idea!
Jo-Ann Brightman says
You are right. Thsi certainly dresses up a room and would be great for any celebration.
Sarah B. says
I love those flags so much and would love to make some for my girls' room. I guess I need to invest in a sewing machine!
Danielle G says
This is such a simple project to finish up scraps with! And it looks so so cute.
Joanne Gregory says
This looks like fun! Great for a party!
Rosie says
this is really cute, and a great way to use scraps! I love the bow on the picture, too!
cassie says
i love the idea of doing this in the home and having it as a permanent fixture! this would be cute over our piano
Rosie says
ooh I was just thinking about this as a craft to do, also I love the tooth fairy pillows - saving to Pinterest!!
Jeanine Carlson says
So funny! I looked at the top picture and said to myself, Yeah, who would go to all that trouble to make fabric bunting? Then I got to the bottom picture and said, Wow, that's the cutest thing ever!!
Natalie says
Great tutorial thanks! What thickness is your bias tape?