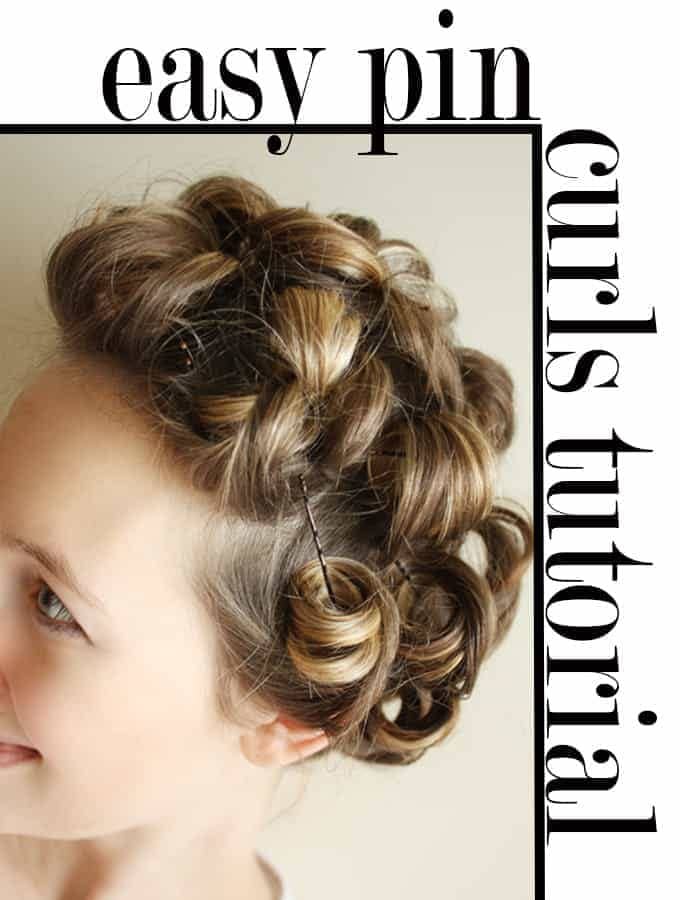
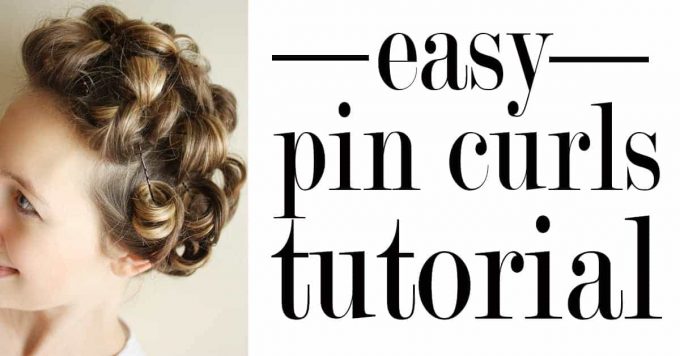
Love curls but hate hot rollers and curling irons? Check out this easy DIY pin curls tutorial!
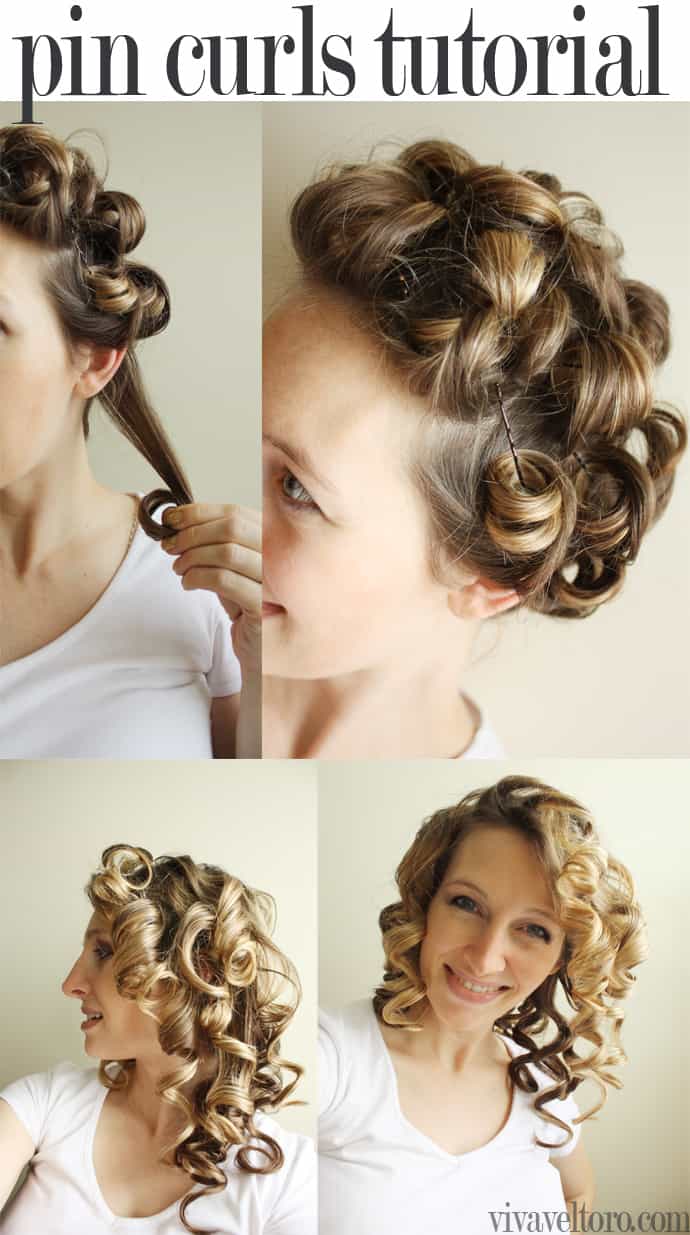
Pin Curls
I was always jealous of my mom's curly hair, and for as long as I can remember, I've been curling mine and fooling nearly everyone I know that I have naturally curly hair. I remember using those pink sponge curlers and rolling up my hair in socks when I was little. I've used curling irons, flat irons, and hot rollers, and still, I've found that my favorite curls come from making pin curls with bobby pins.
This method uses practically zero hair product or heat, which makes it perfectly healthy for your hair. No blowdryer necessary. You can set up your hair at night, get a good night's sleep, and have instant ringlets in the morning on your rush out the door. Most of all, I love how long the curls last. With heat products, I can count on everything falling loose by the afternoon, but these pin curls can last days and days for me. I'm going to show you exactly how to do them.
How to do Pin Curls
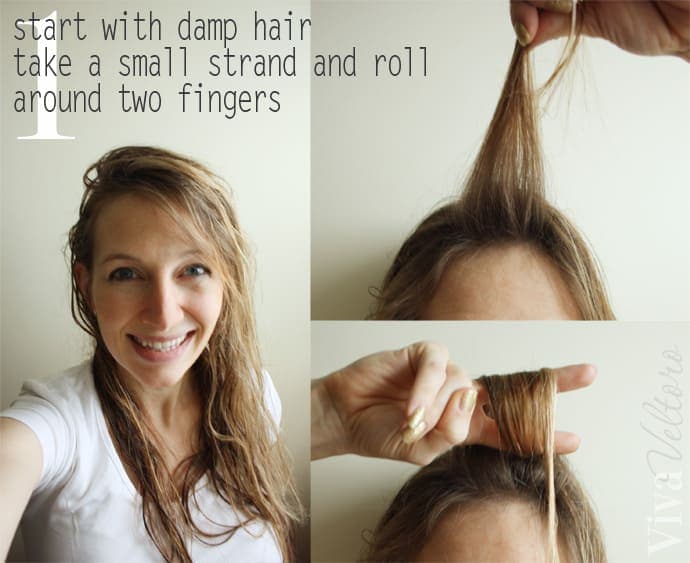
Very wet hair isn't going to work well. Slightly damp hair works best. This is especially true if your hair is only going to be pinned up for a couple of hours. Divide each section of hair. Grab a strand small enough for a bobby pin or pin curl clip to handle, and twirl around two fingers, making sure to tuck in the loose end well.
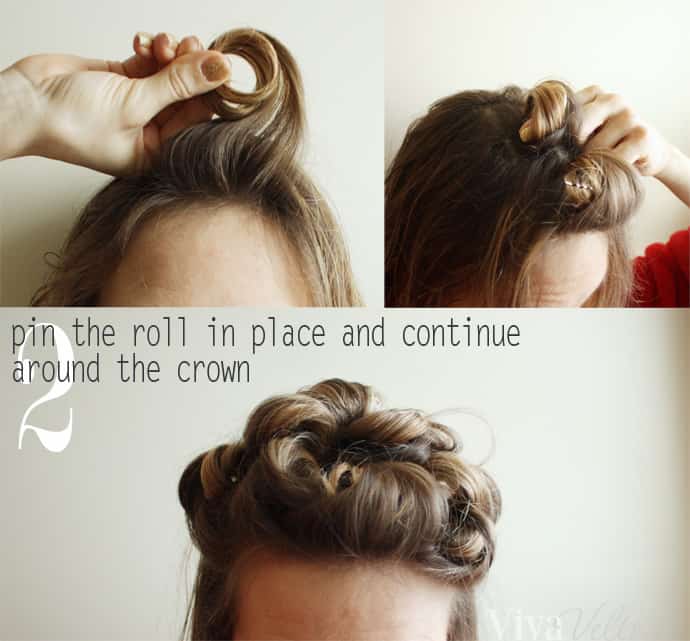
Fasten the curl in place with a single bobby pin or clip, (if you're using bobby pins, you can criss-cross with another to make it more secure). I pin a row down the center of my head, then continue on the sides. You can achieve excellent lift at the roots with your hair drying this way.
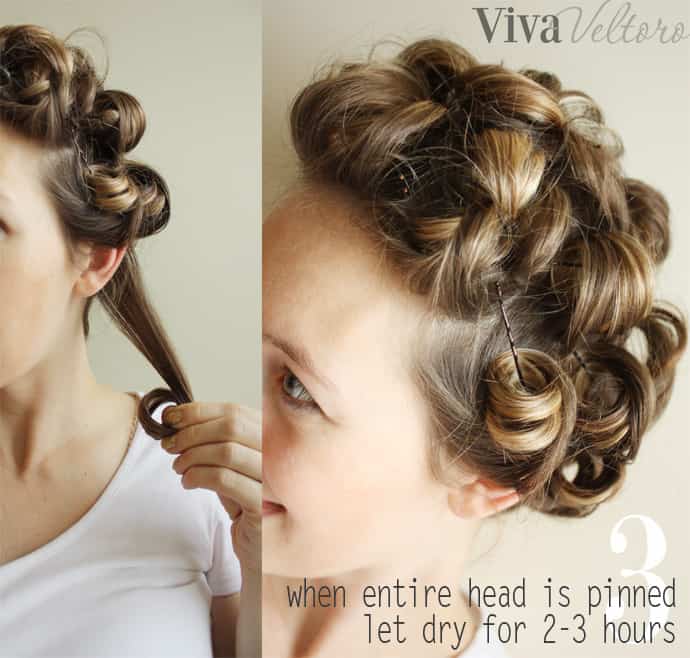
Keep pinning until everything is up and let it dry for a couple of hours, or let it hold overnight! I have a sensitive scalp, and I can still sleep on these unnoticed. I think the key is avoiding crisscrossing bobby pins, or even pinning more curls on the side if you sleep on your back, or pinning more curls towards the back if you sleep on your side.
Styling Products
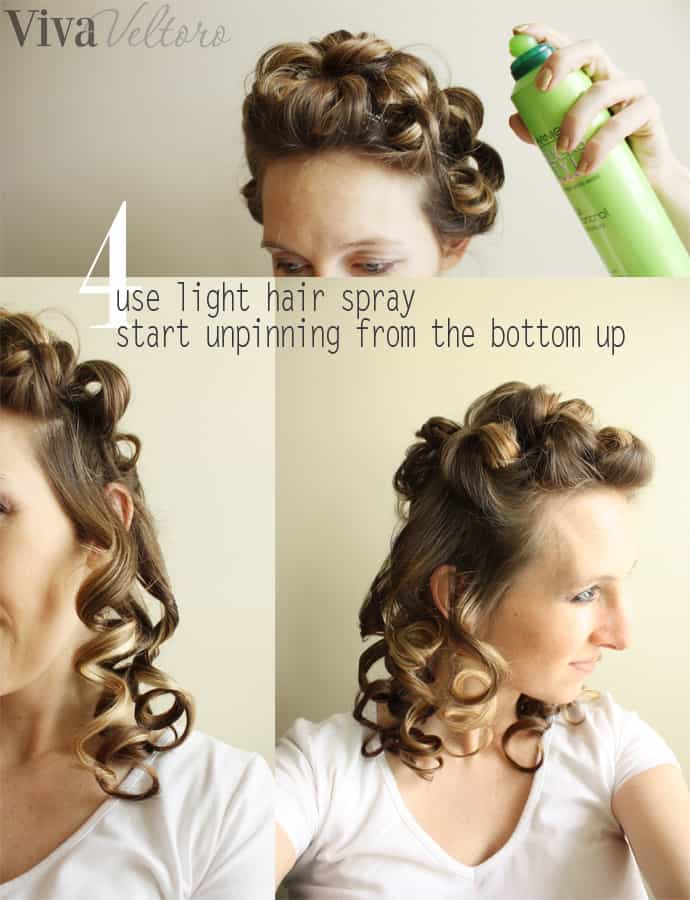
Hairspray is optional. I usually spritz a little on just before taking the pins out. Unpin from the bottom and reshape the curls with your fingers if needed. Correct any ends that come out a little wonky with a curling iron. No need to brush!
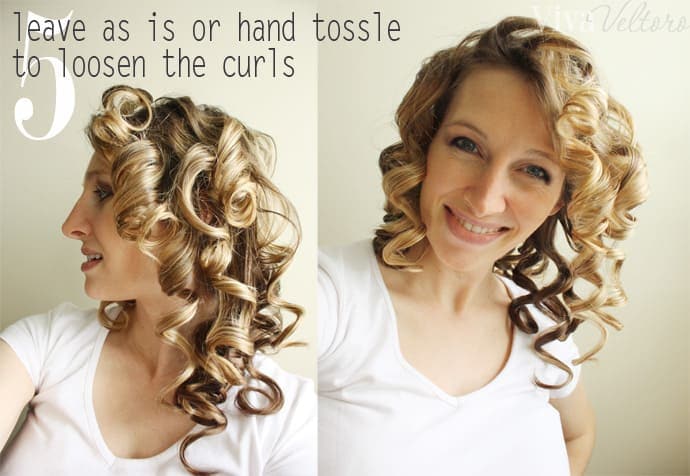
And you've got bouncy waves! You could leave your ringlets as is and really spray them down, or loosen them up a little with your fingers, but don't let them frizz.
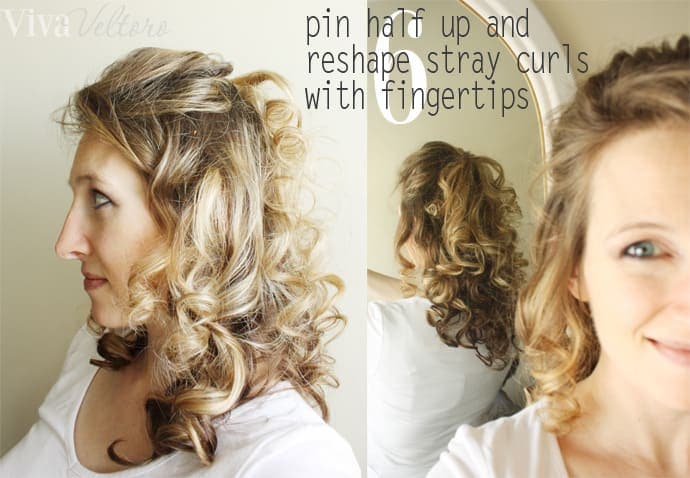
I usually pin half of it back to keep curls out of my face and reshape frizzy curls with my fingers. Enjoy those waves!
If you love these curls, check out our other hair tutorials:
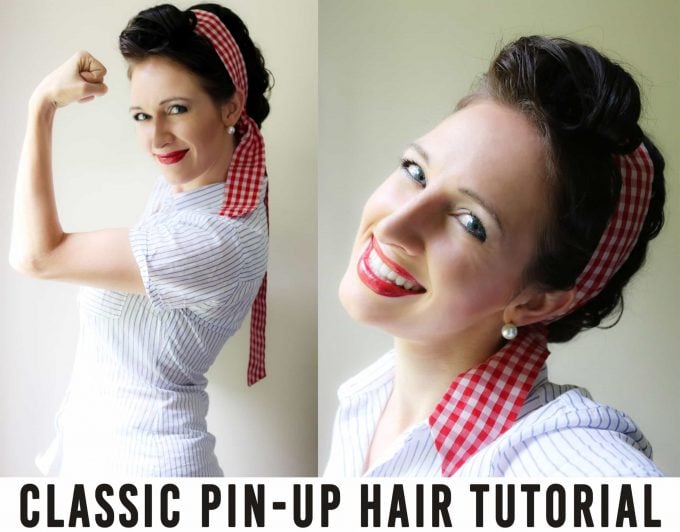
Classic pin-up girl hair tutorial
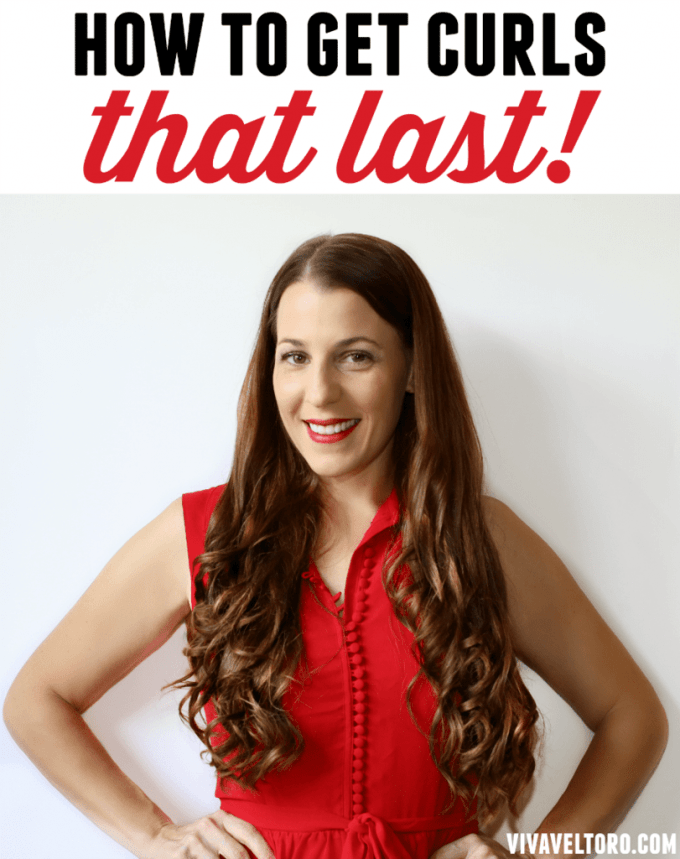
How to curl your hair with a flat iron for curls that last
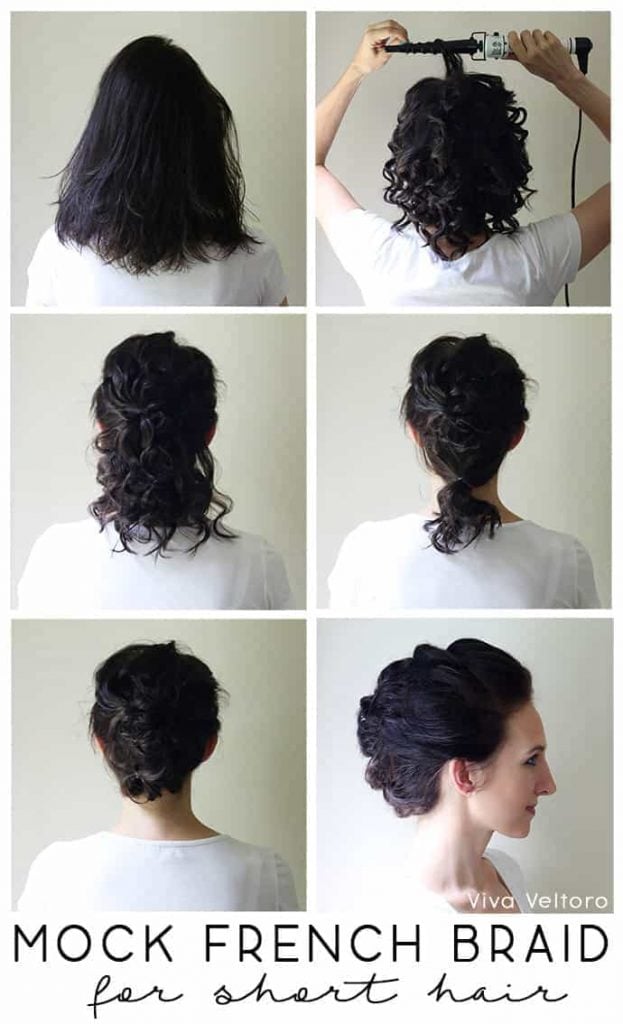
Mock French braid for short hair
Sherry Compton says
So pretty and so much you can do with it. Curls look good in many ways. I even like the look of the bobby pin updo. 🙂
Pamela Marks says
My mother used to do pin curls all of the time, I remember her setting her hair the night before, wrapping a kerchief around her head then sleeping in it and then taking it out the next morning. She even did my girls hair this way from time to time.
Tara Short says
You look absolutely lovely with these curls! I've always wanted to try pin curls. 🙂
Amber Ludwig says
So cute!! I always want to curl my hair but never had the patience for the tediousness of curling it with a curling iron. And she got such cute results!! I'll be so lucky if mine turns out half as cute!!
Sandy Klocinski says
I will have to try this
Karen Jaras says
This might work out well with my naturally curly hair. Very classic look.
Beth R says
So cute. I love that you can do this overnight and still have gorgeous hair in the morning.
Sandi Woods says
I love it...we used to do pin curls all the time but I had short hair so I'd only get spit curls LOL( now that my Hair is longer I;d like to try this and I just happened to run into a package of bobby pins the other day while cleaning up that ( never used. Maybe it's some kind of Omen..a good one I hope! Thanks for sharing!