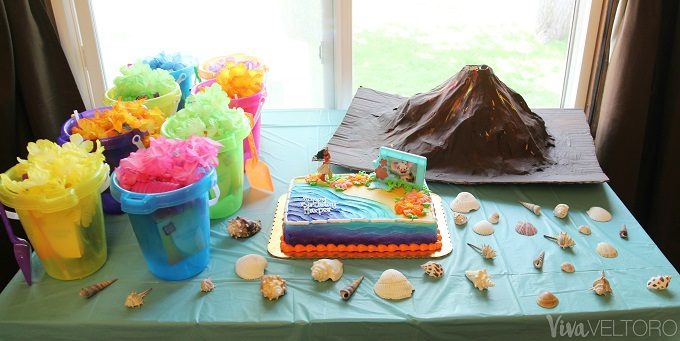
We recently celebrated our daughter's fourth birthday with an awesome Moana birthday party. One of the biggest highlights was our volcano eruption! I'm sharing how to make a paper mache volcano at home, which is sure to be a hit with your family.
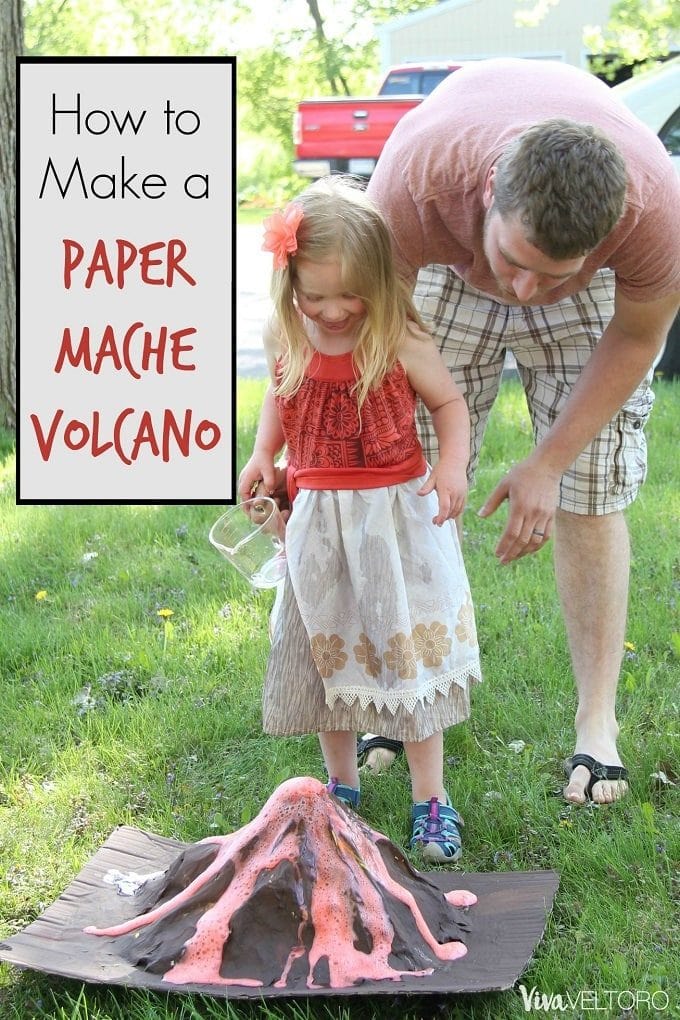
I remember making a few things out of paper mache as a kid - most notably a green pig-shaped piñata (I'll totally share a picture at the end of this post because it's awesome). Most often, though, we made volcanoes and then used baking soda and vinegar to create an eruption. I thought it would be fun to make a paper mache volcano and let our daughter and her friends experience the excitement, too!
How to Make a Paper Mache Volcano
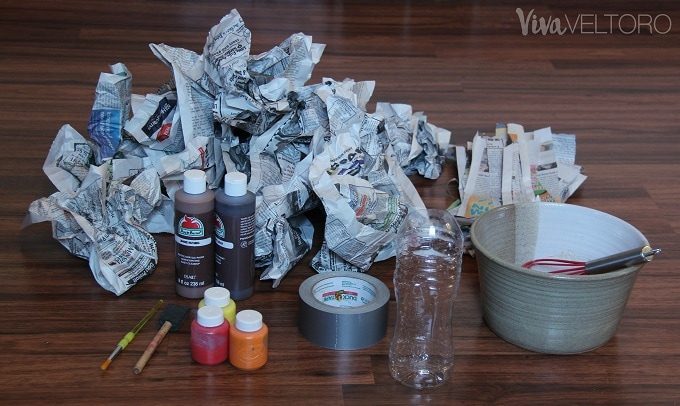
Things you'll need:
- Newspaper
- Tape (I used duct tape but masking tape may be more efficient)
- Plastic water bottle with the top cut off
- Base (a piece of cardboard works great)
- Paint and a brush
- 1 cup of flour
- 2 cups of warm water
- Baking soda
- Vinegar
- Red food coloring

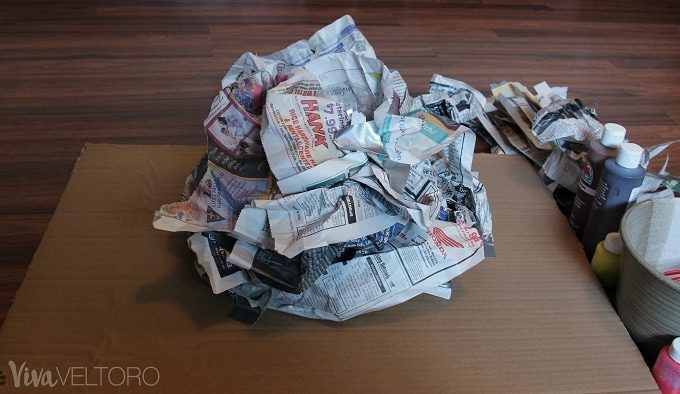
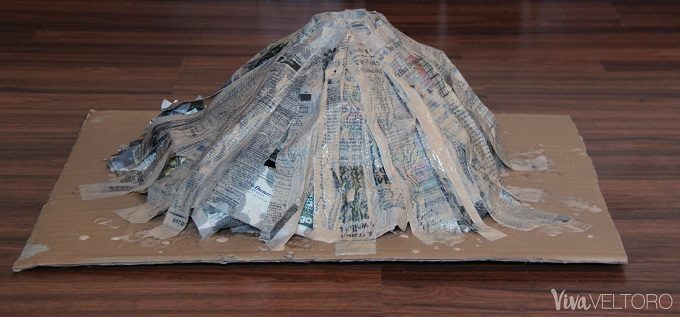
The first thing you'll want to do is set up your base. After cutting the top off your water bottle, tape the bottle down to your cardboard. Then, loosely pile some crumpled newspaper around the bottle. Thankfully, it doesn't have to be pretty because volcanoes aren't symmetrical!
Next, mix your warm water and flour together to make a paste. You'll want to rip a few pages of newspaper into about 2 inch strips. Again, they don't have to be pretty! Then, dip the strips into the flour/water mixture and start draping them from the mouth of the water bottle to the base.
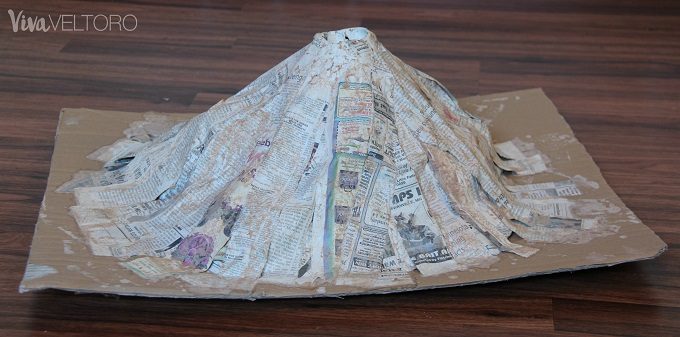
This can get messy, but the kids love to help! I like to put a few layers of the newspaper strips on and then let them dry overnight so the whole structure can harden.
After your volcano is dry, it's time to paint! I like to use a couple different browns, plus red, orange, and yellow to look like lava. We usually paint the whole volcano and base, and then let it dry over night.
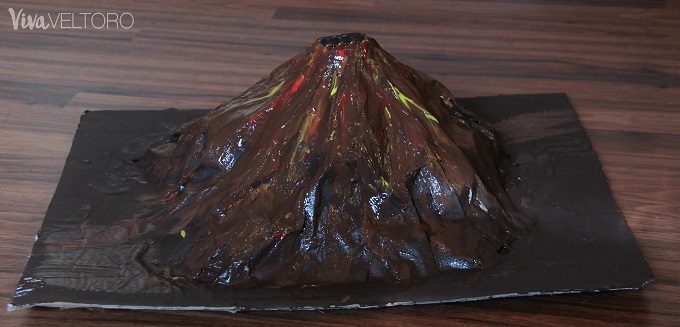
I like to let volcanoes erupt outside because they can get pretty messy. Plus, there's more room for kids to crowd around and participate outdoors. I think our final product, pre-eruption, turned out pretty awesome looking!

We poured about two tablespoons of baking soda and a few drops of red food coloring into the mouth of the volcano. I think this is a fairly good ratio but if you want a bigger eruption you may want to use more.
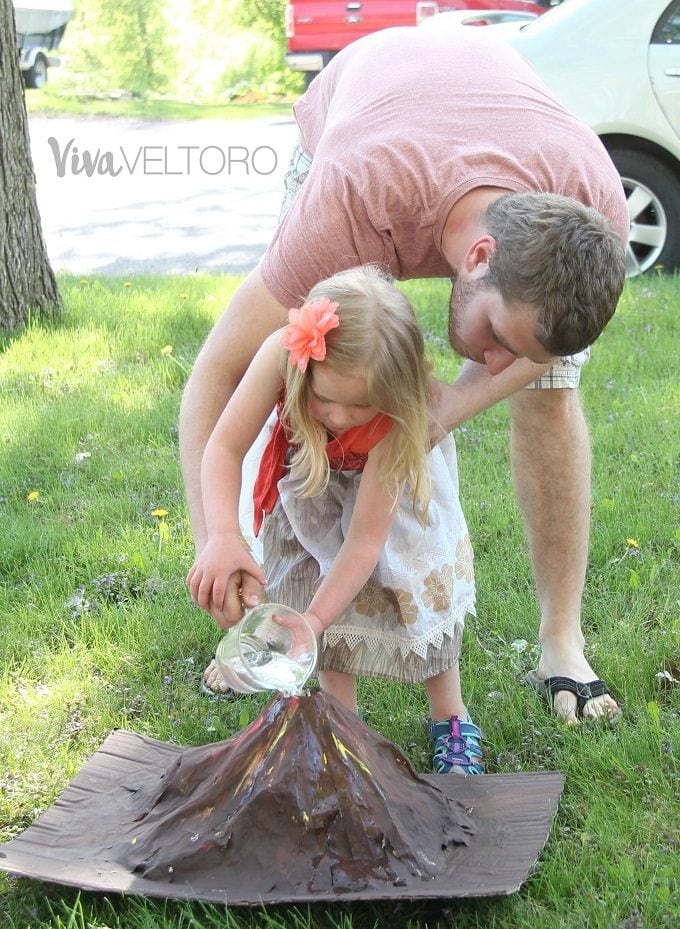
After that, we measure out about half a cup of vinegar and pour it quickly into the volcano. A liquid measuring cup works great for this part, especially if you have kids helping.
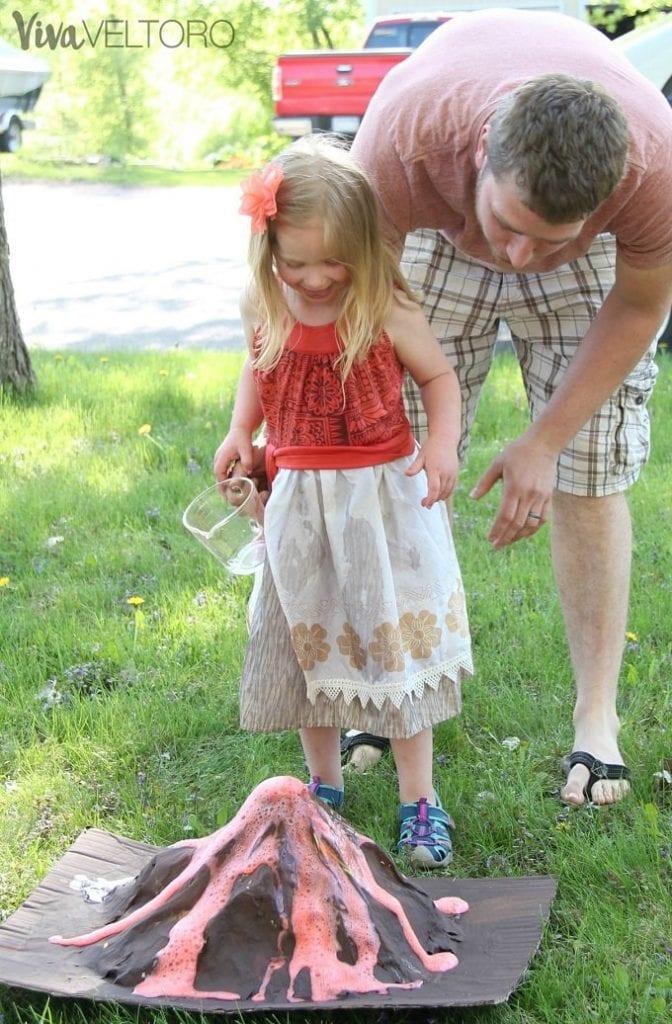
SUCCESS! As you can see, it worked great. Kids absolutely love watching the eruption. We ended up doing it over and over at our Moana party until we used up an entire jug of vinegar and a box of baking soda. It was so worth it to see the kids' excitement! It's pretty simple to make a paper mache volcano and it can easily become the highlight of a party.
What have you made out of paper mache?
Will you make a paper mache volcano with your kids?
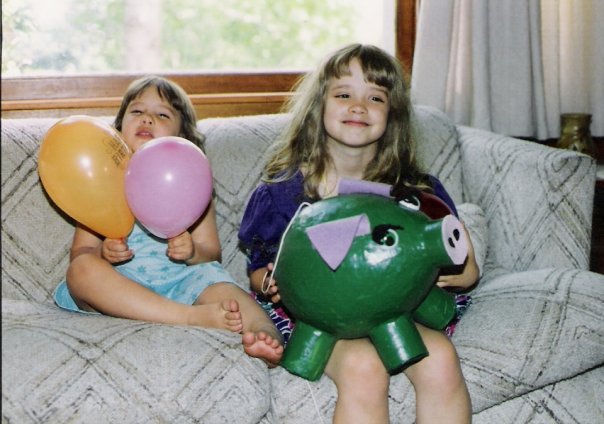
As promised, a silly young photo of me and my sister with our green paper mache pig!
Lauren M says
Thank you so much for posting this! My 3 year old son is really into volcanoes right now so I would love to try this out with him. About how long did each of the "eruptions" last? And you just refill the baking soda/red food coloring/vinegar at the base (basically pouring it into the water bottle underneath) each time?
Amber says
Thanks so much for reading, Lauren!! The eruptions go pretty quickly--I would say maximum 5-10 seconds depending how much of the baking soda/vinegar you put in. At the end we put a few more scoopfuls of baking soda and poured almost 2 cups in, and it was pretty awesome-I wish I'd taken pictures of that! And yes, we just poured into the bottle each time-I'm sure some of the baking soda reacted with whatever vinegar was left after the previous eruption, but there was still enough left to cause a reaction each time!
Rosie says
This is so cute!!! Paper mache brings back memories, in 7th & 8th grade I used to make paper mache bracelets - tons of them!
Amber says
Thank you, Rosie! Paper mache is so fun--I love the idea of paper mache bracelets! We may have to make some of those too!
Amber Ludwig says
This is so much fun!! I remember doing one back in science in 5th grade!! Still totally awesome!!! My son would adore this! We will have to plan it for this summer on a home day! Id say on a rain day but this definitely looks like an outside idea 😉
Amber says
I would definitely suggest doing it outside! 😉 It's so much fun though! Would love to see pics if you do it!
G K says
I'm not going to lie, I kind of want to make one for myself.
Dorothy Boucher says
What a fun project this is, the children can learn so much from this and having hands on,
@tisonlyme143
Lauryn R says
What a fun project to do with the kids! I homeschool mine so this would be a great lesson as well. Thanks for sharing, I can't wait to try it!
Jessi Jo Housel says
My daughter is all about science and would love to make one of these! Thanks for sharing, going on our must do list for sure!