I love giving personalized gifts. Since we're currently on a "stay at home order," I've decided to learn a new skill using my trusted Cricut maker, etching glass. I'm going to show you how to use Armour Etch to etch glass to make personalized gifts.
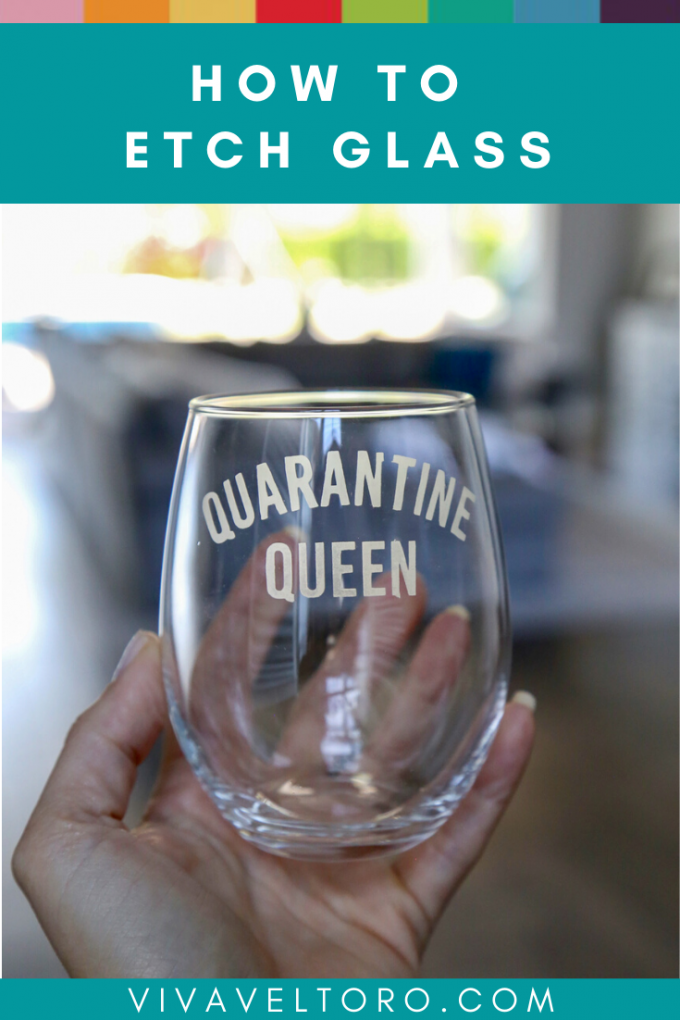
It feels like we've been self-isolating for months at this point and I've been pretty stressed yet bored at the same time. It doesn't even make sense, does it?! One thing that always helps me alleviate stress and helps keep my mind busy is crafting. And, since "gifts" is one of my love languages, crafting gifts for friends and family is even better. During this quarantine, a lot of my friends have started doing "door drops." We leave small gifts on one another's doorsteps to help spread a little cheer. This helps us feel connected while we have to be apart. I tried something new and learned how to etch glass to make Quarantine Queen wine glasses for my friends.
Etching Glass
It looks fancy, but etching glass is actually pretty easy with Armour Etch. This fast-acting glass etching compound lets you create permanently etched designs on windows, mirrors, and household glassware (but it won't work on some Pyrex). To do this, you'll need to create your own stencil or use a pre-made stencil (Over N Over makes some great ones). I wanted to make mine custom, so I created a design in PicMonkey then used my Cricut Explore Air 2 to cut vinyl stencils. You can get your Cricut on Amazon or on the Cricut website. Be sure to shop the website for deals and bundles.
If you're going to create a custom stencil
As I mentioned, I used my Cricut to cut vinyl stencils to use on these wine glasses. You'll need the following to do this and start your project:
- Cricut and mat - I have the Cricut Explore Air 2 and have been very happy with it. (You can also get on Amazon)
- Cricut basic toolset (specifically, you'll need the scissors, weeding tool, and burnishing tool) - this set is also on Amazon.
- Cricut removable vinyl - Color doesn't matter since you're only using it for a stencil. I tried to use a cheaper off-brand vinyl at first and the results were not good. Cricut vinyl was definitely superior for this project.
- Transfer tape - This was my first time branching out from making t-shirts with heat transfer vinyl so I wasn't super familiar with transfer tape or why it was necessary. Believe me, it's necessary.
If you're creating your own design or if you've purchased an SVG, JPEG, or PNG file to use, you'll just upload it to your Cricut design space to cut. Place the vinyl on your mat (vinyl side up!) and get ready to cut. If you're using a pre-made stencil you might be able to re-use it, but if you're cutting vinyl for stencils you'll need to create one stencil per item you're etching. For instance, I made 24 wine glasses so I had to cut 24 designs.
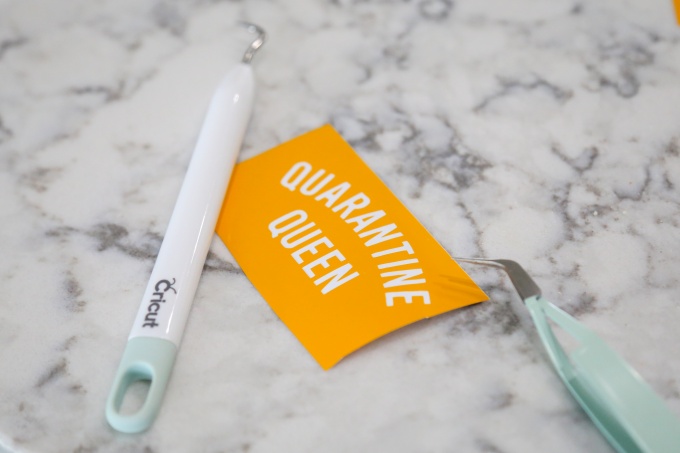
Typically, when you cut vinyl, you'd weed the area around the letters and apply the letter or design to your item. In this case, you're going to "weed" the letters and discard them, leaving the outline. Be careful to leave the centers of the letters like A, R, Q, etc. This can be tricky if your design is small. Now, you'll need your transfer tape.
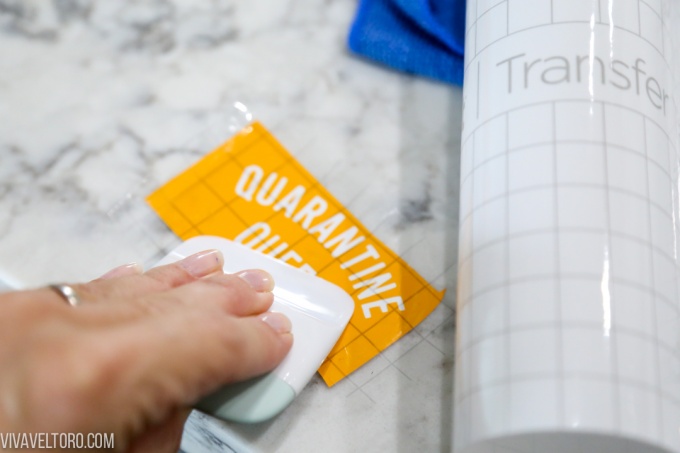
Cut a piece of transfer tape, slightly larger than your design. Be sure to press firmly using the burnishing tool to ensure the stencil adheres to the transfer tape.
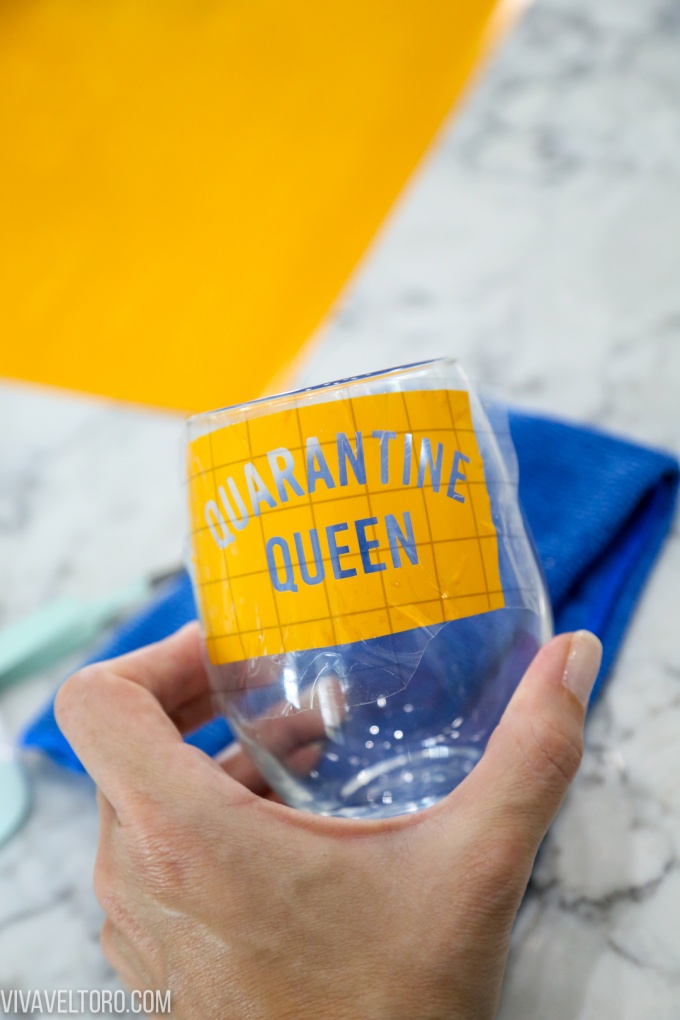
Align the design and press it firmly onto to glass or mirror. This can be really tricky if your glass is curved. Use the burnishing tool to firmly press the stencil onto the glass. Be sure to compress any creases or folds because the etching cream can channel under them and cause etching where you don't want it.
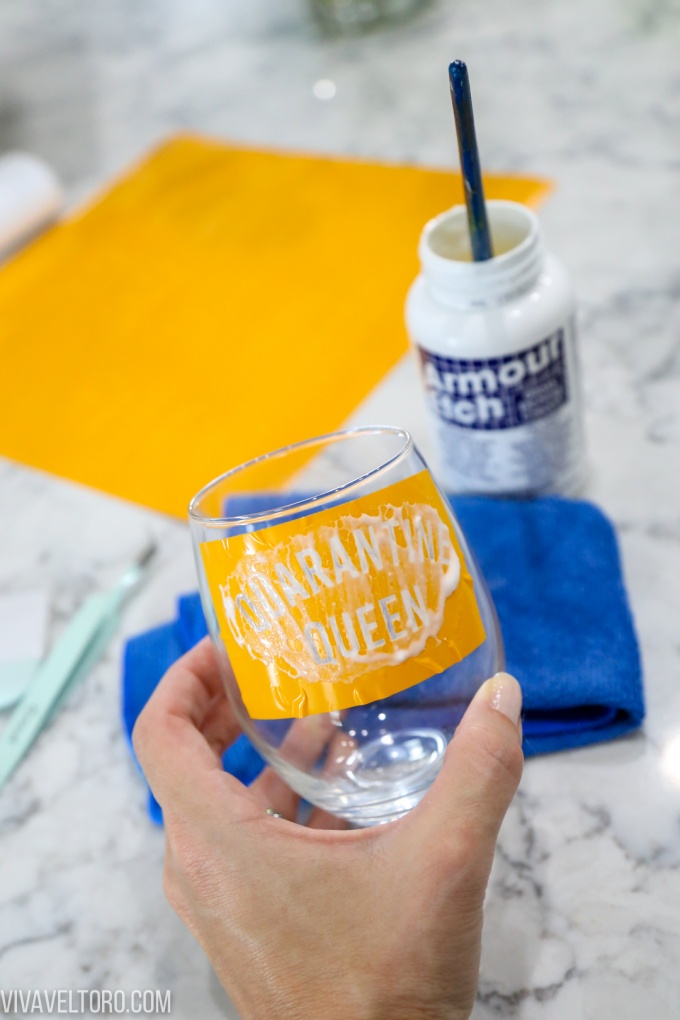
Once your stencil is firmly applied and you make sure all creases are as compressed as possible you can peel off the transfer tape. Transfer tape is pretty sticky so you should be able to reuse the same piece several times. Next, apply the etching cream using a paintbrush. Swirl it and coat it well (really glob it on there) and allow it to sit for 3-6 minutes.
Once the time is up, scrape the excess cream off using your paintbrush and put it back in the bottle (to save product). Then rinse your design under water and peel the vinyl decal off.
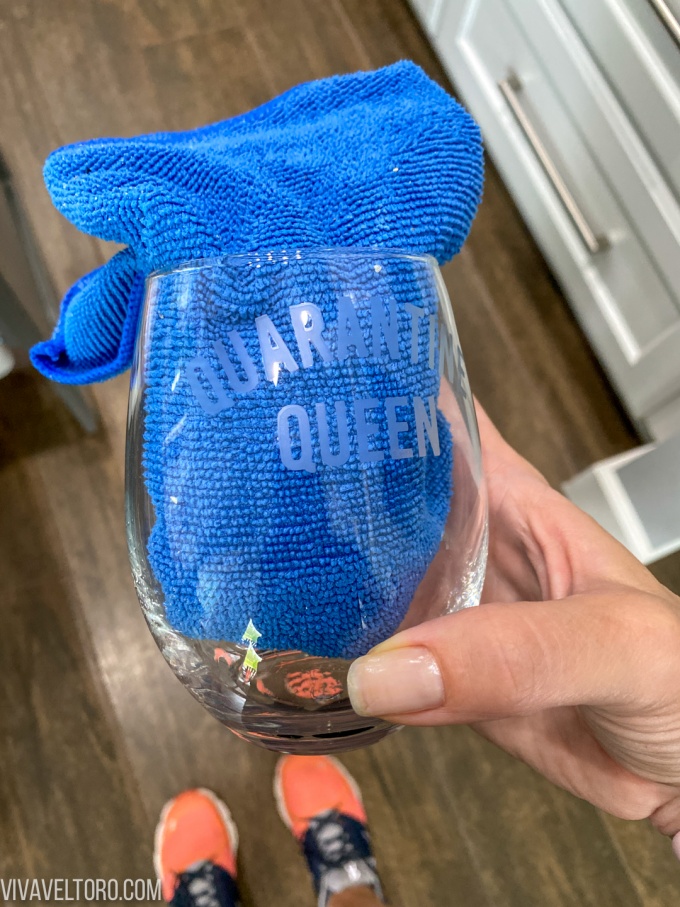
The decal will likely rip and tear which is totally fine since you're throwing it away anyway. The insides of the letters will probably remain and you'll need to carefully peel those off while avoiding scratching your new etching.
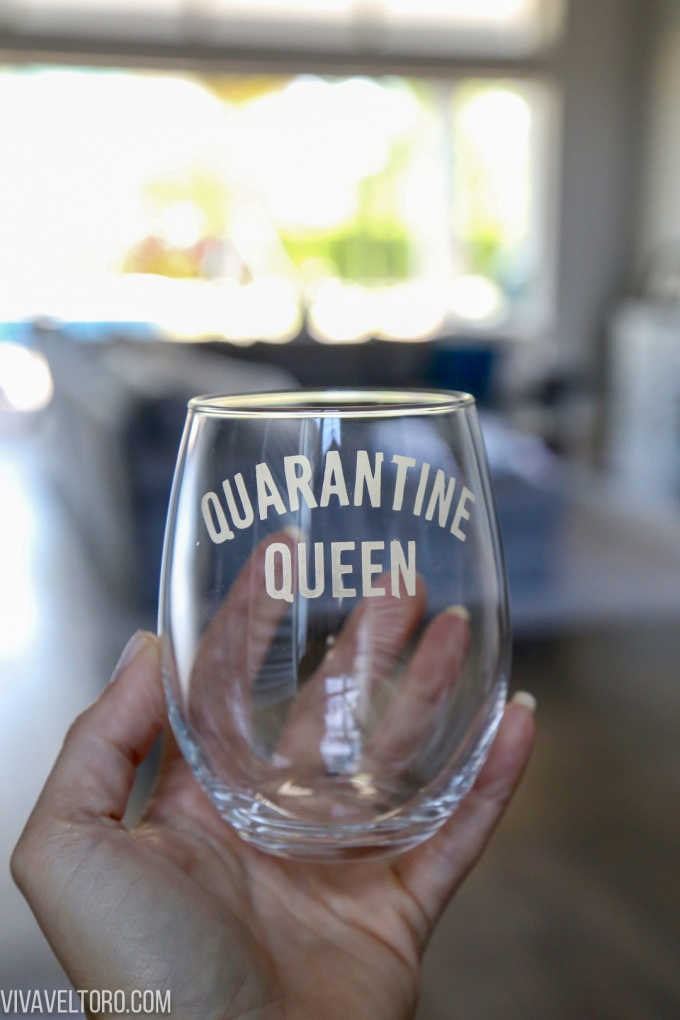
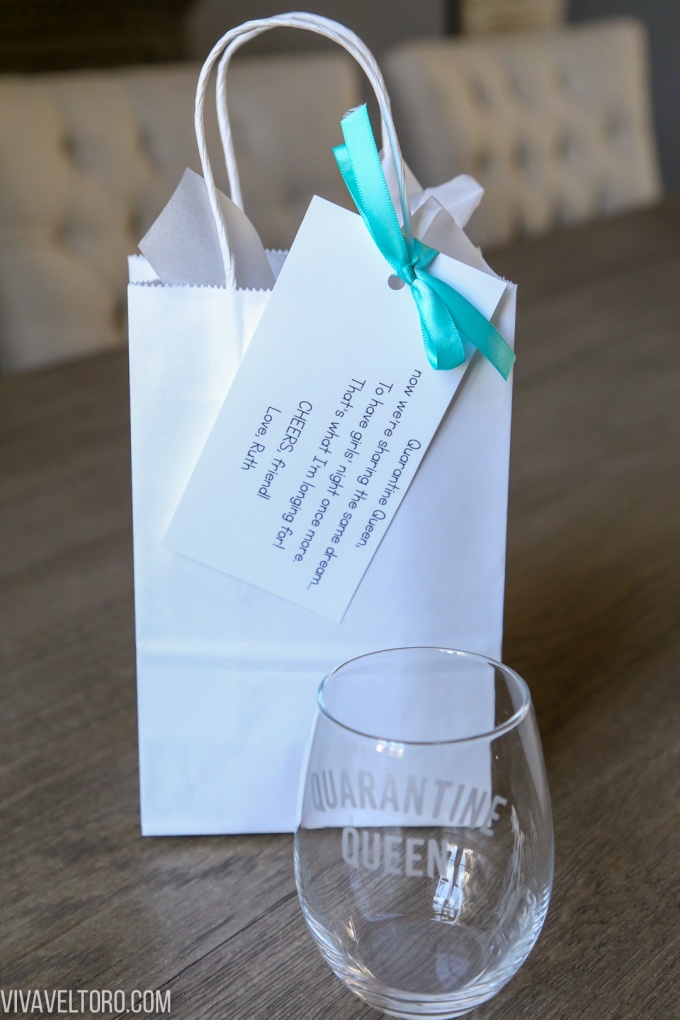
You'll be left with a beautifully etched design. I am in love with how my wine glasses turned out. I carefully cleaned them up and then packaged them up with custom gift tags to deliver to my friends in town.
Have you etched glass before?
What kind of designs are you looking for?
Leave a Reply