One of my kids' favorite activities at our local library is the felt board. I have fond memories of using a felt board in elementary school also, and I thought it would be fun to create our own at home. Little did I know it would be such a cheap project (less than $10!) that would provide hours of fun! Check out how to make your own DIY felt board.
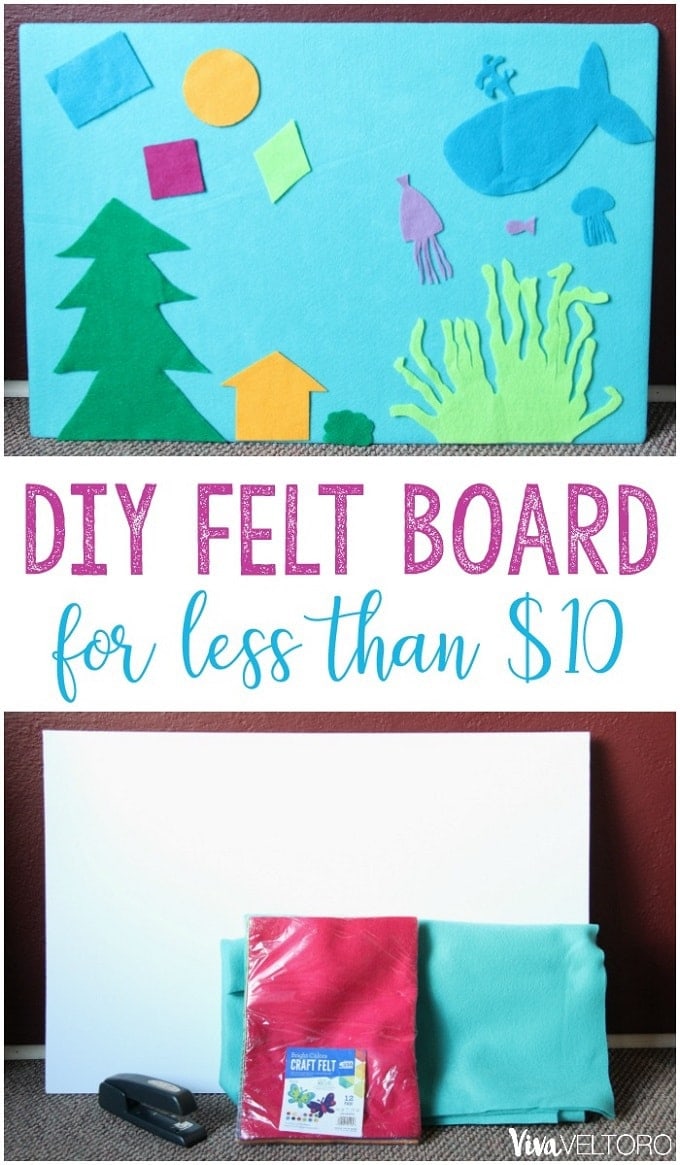
I think felt is one of the most underrated craft products of all time. Not only does it stick to itself, eliminating messy additives like glue, the possibilities are endless for what you can create! For your DIY felt board, all you'll need is a foam board (I used a 20x30 inch from Wal Mart), a large piece of felt for the background, and a small package of felt.
How to Make a DIY Felt Board
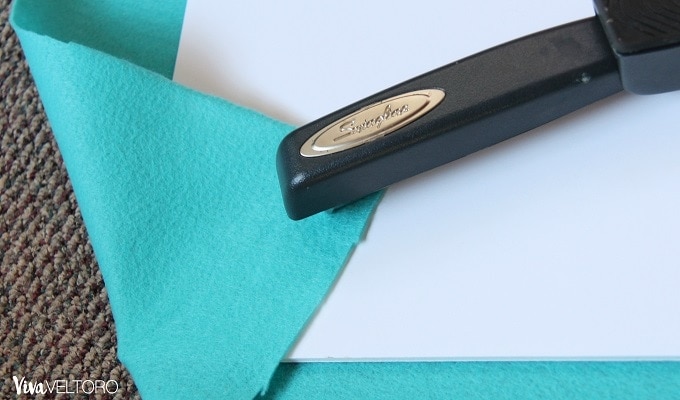
I used a stapler to attach the felt to the foam board. You could glue it if you want the back to look nicer. The back of ours didn't need to look fancy so a stapler worked great. I stapled the four corners first, pulling the felt tight at each corner. Then I folded the sides in and stapled those, just like I'd wrap a gift but with staples instead of tape!
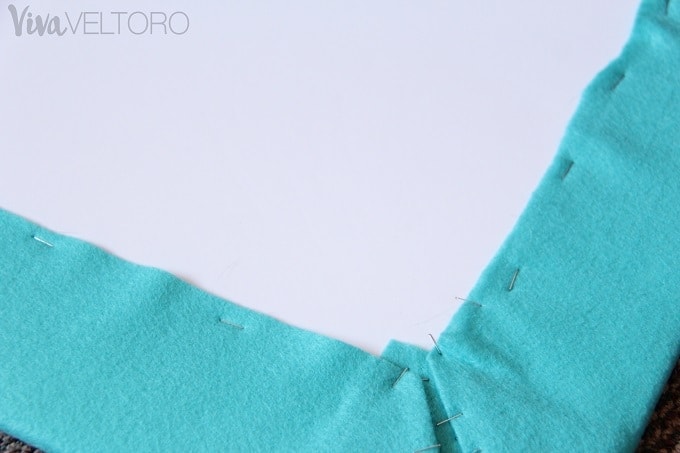
Like I said, the back isn't pretty, but it's functional! We put ours up on a wall anyway, so it doesn't matter what the back looks like. If you have younger kids and you're worried about them picking the staples out, I would opt for glue.

After you've stapled the back, turn it over and there you go! It's so simple and takes less than five minutes to make. Then comes the fun part - cutting out shapes from your felt pack. The possibilities are endless for this, and you can make anything you want. Since I made the felt board, we have cut out shapes in various colors, a 'home' scene, and ocean animals!
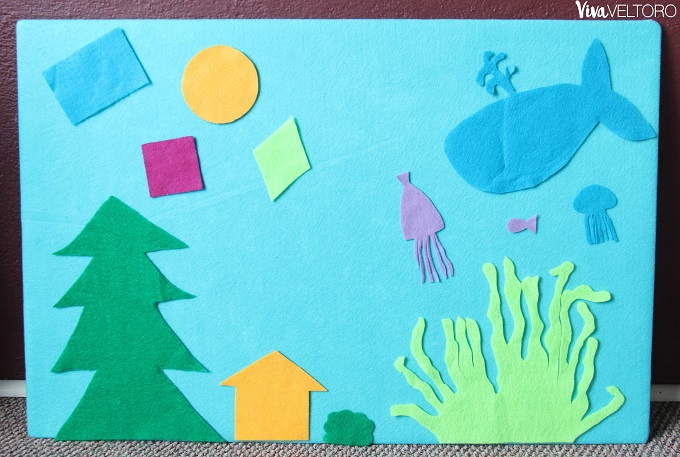
Of course we usually use all of these things separately on the felt board when playing with it. We're working on colors and shapes with our little guy right now and this is a fun way for him to get more involved in the process than looking at them in a book. Our four-year-old daughter has fun creating ocean scenes. The plan is to make our family out of felt next!
This project is really so simple and affordable, and it's providing our family with hours of entertainment. I love that felt isn't messy like other projects. Plus, our daughter is also becoming great at cutting with scissors as she makes her own shapes for the felt board. It's a great learning tool and was SO easy to make! I spent $2.00 on the foam board, $3.99 on the background felt (though I got about double what I needed so I have a lot left over), and $4.00 on the colorful pack of felt. That's less than $10 for the whole project, and we easily could have done it cheaper if I'd bought less felt. You can buy felt and foam boards from Amazon if you prefer to get things shipped to you. Overall, it's well worth the money and is a fun learning tool for our kids.
Check out our P. King Duckling felt board characters and GIVEAWAY!
Mia says
This is something that I would love to do with my younger grandchildren. I have bought felt kits but did not realize that making one could be so simple. My grandson would love to have trucks on his.
Chantelle Webber says
Wow what a great odea. We are so doing this asap
Dorothy Boucher says
I love this, and just think of all the wonderful ideas your children can come up with playing on this
board. Nice!
@tisonlyme143
Lauryn R says
This is such a fantastic idea!! I have three littles that would really enjoy this felt board! And I love that you can make whatever theme that you want. Thank you so much for sharing! 🙂
Leigh K. says
What a great idea with so many uses! A great way to work on shapes, colors, counting, story telling, etc. I'm going to put this on my DIY to do list!
ellen beck says
Fely is so easy to work with, pretty inexpensive and makes for easy crafts. You can use it to tech colors, shapes and things .Nice post!
Rosie says
I love this! I've been sewing and crafting forever, but never saw a felt board. I'd love to try it!
Davida says
Live this idea! How would you attach the felt board to a wall?
Amber says
I actually just leaned it up against the wall for easier access, but you could probably use command strips or something if you want it attached to the wall!