Do you have little Mo Willems fans in your home? My kids love the Mo Willems' Pigeon books and we're celebrating the Pigeon's 16th BIRD-day with a fun sewing project. I've partnered with Disney Book Group to bring you this DIY Bath Mitt for kids to celebrate our beloved Pigeon.
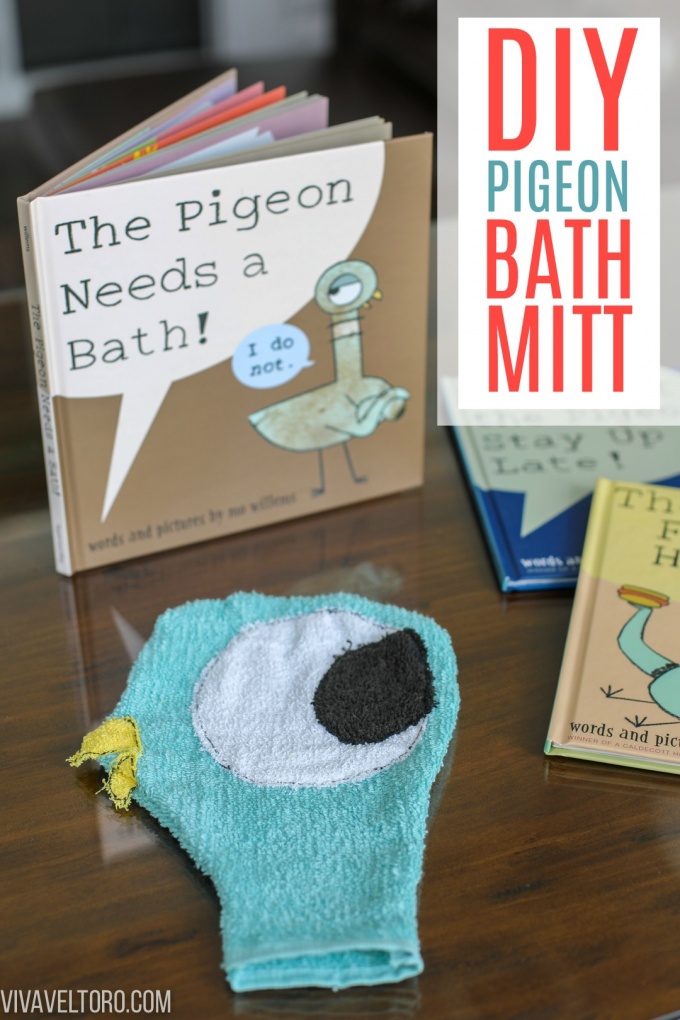
If you have a toddler or small child, chances are you've read at least a few of the Mo Willems Pigeon books. We had borrowed them from the library so often that I knew it was time for me to purchase a handful of these witty books for our home. My kids love the simple, yet engaging artwork in the books and I love that the Pigeon has a large vocabulary and there's plenty of opportunities for the kids to learn new words while being entertained. My son loves The Pigeon Finds a Hot Dog! and my daughter has a special place in her heart for The Pigeon Needs a Bath!
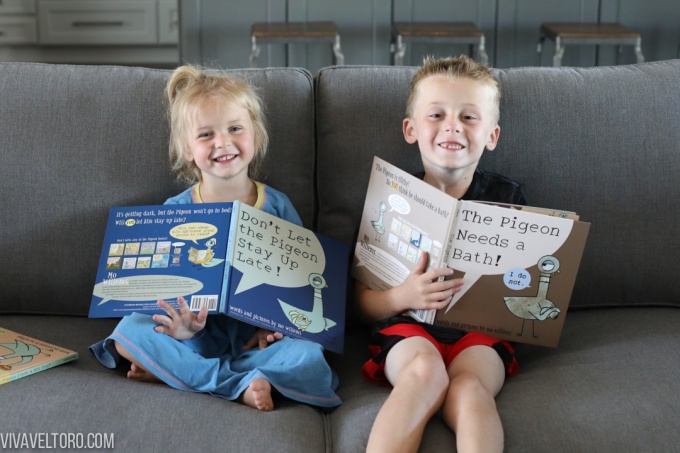
Since our little lady has been a little contentious (like her favorite funny Pigeon) at bathtime lately, I thought a Pigeon themed bath mitt to go along with her favorite book would do just the trick to get her more excited about taking a bath. Plus, I knew this would also get her excited about the upcoming new Pigeon book: The Pigeon HAS to Go to School!, which hits stores on June 2, 2019.
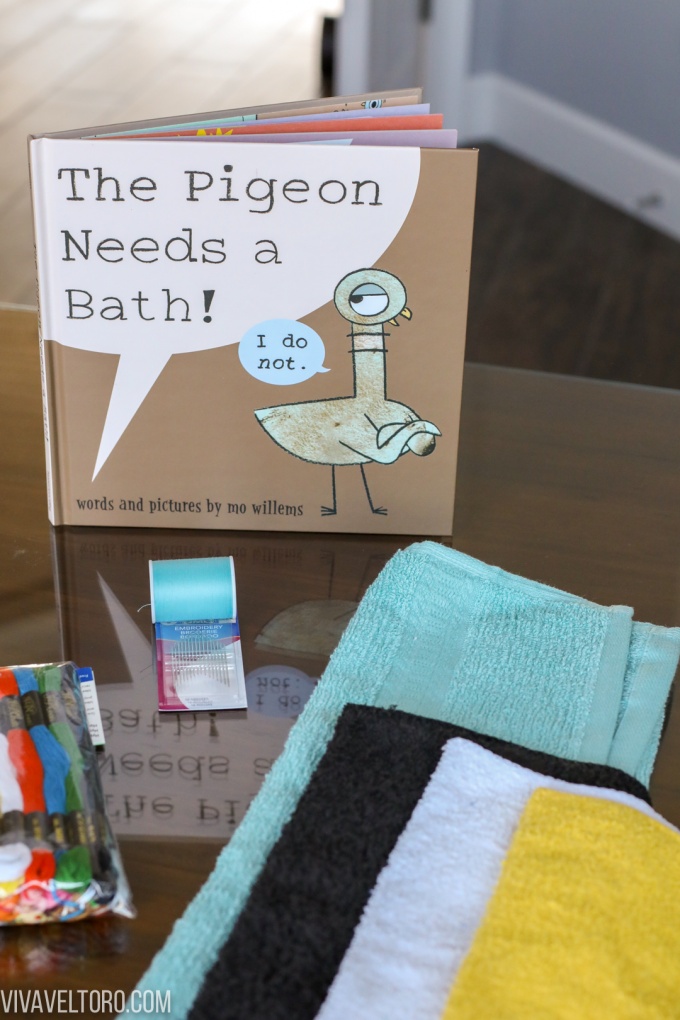
To make my DIY bath mitt, the first thing I did was gather my supplies. I was able to find all of the things I needed at my local big box store. Here's what you'll need:
- A sewing machine
- 1 blue handtowel
- 1 white washcloth
- 1 yellow washcloth (or fabric scraps if you have them)
- 1 black washcloth (or fabric scraps if you have them)
- Black thread
- Scissors
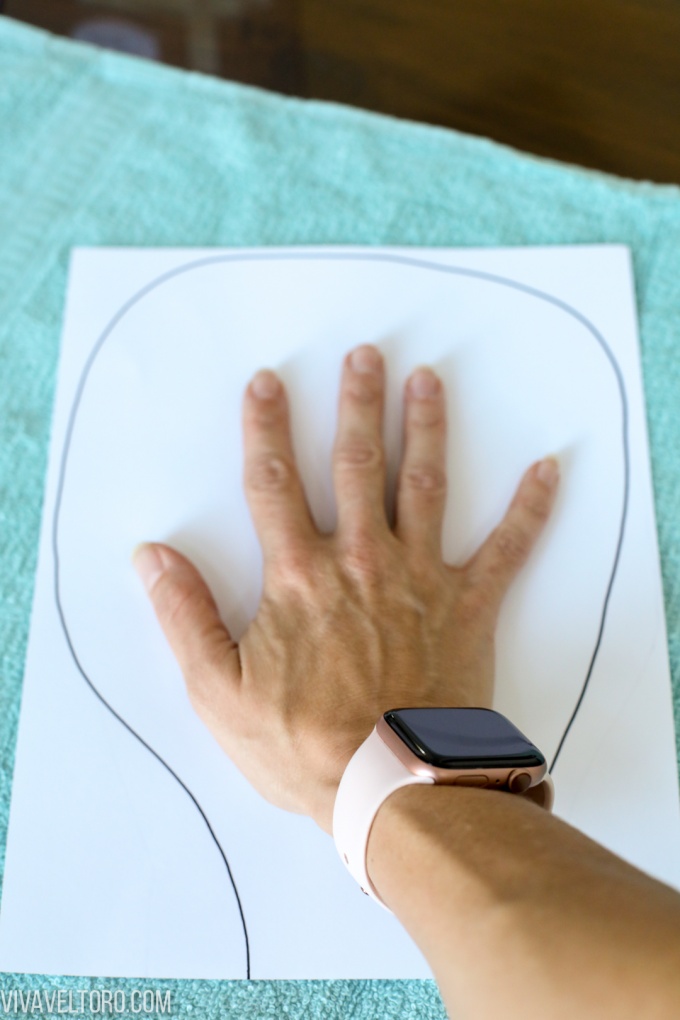
I created a pattern out of a piece of cardstock by simply tracing my hand and wrist. Be sure to leave at least a ¼" of seam allowance on each side of your hand. I actually made mine a smidge too small around the wrist portion, but it fits my daughter like a glove (pun intended!).
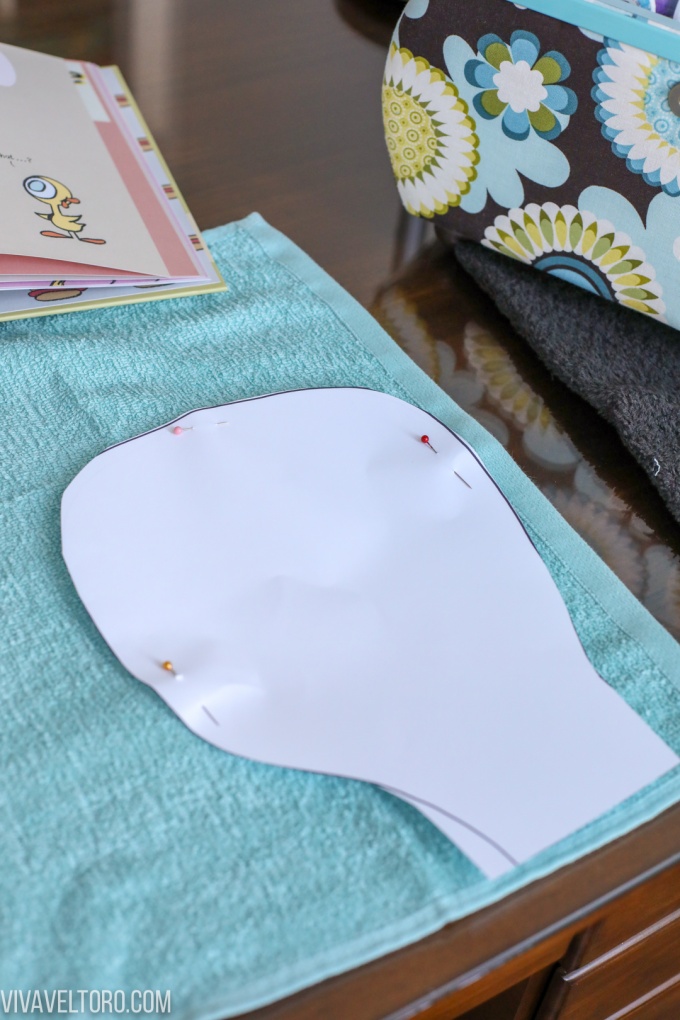
I pinned the pattern to the blue handtowel and made sure to push it up as close to the side as I could so I'd have room in case of error. Also, be sure to use the selvage edge of the hand towel for the bottom of the mitt. That will be one less seam you'll have to finish and terrycloth frays very easily.
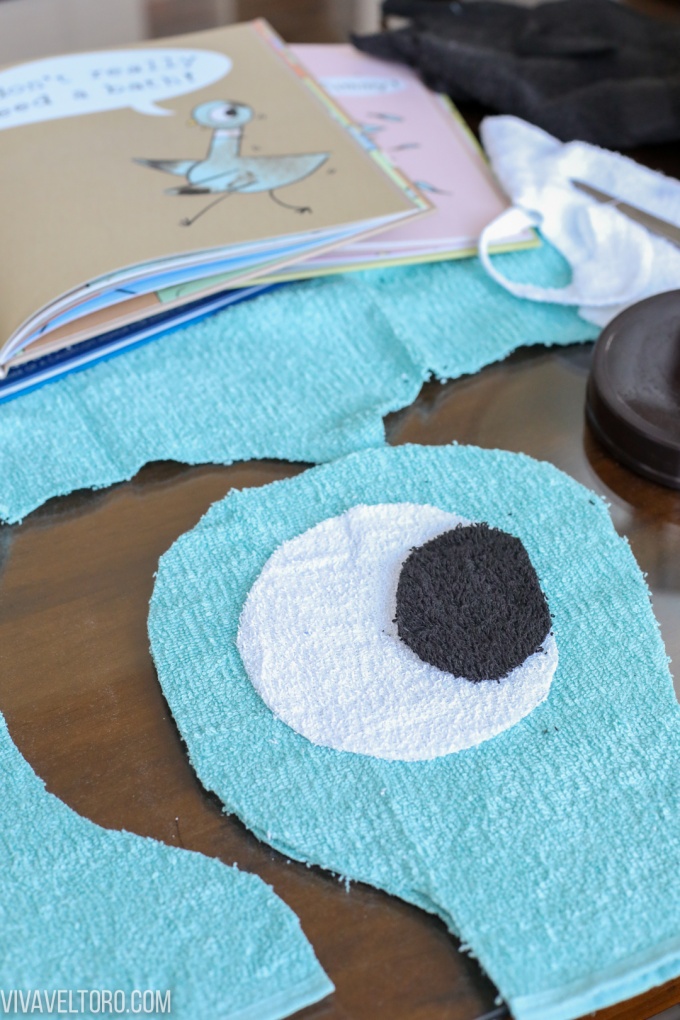
Once I had the sides cut, I created the Pigeon's face by cutting a large white circle and smaller black oval for his eye. Just thumb through a Pigeon book to find your favorite expression to replicate. I sewed the white circle in place first using black thread for contrast. Then, I sewed the black circle on top of the white to create his pupil.
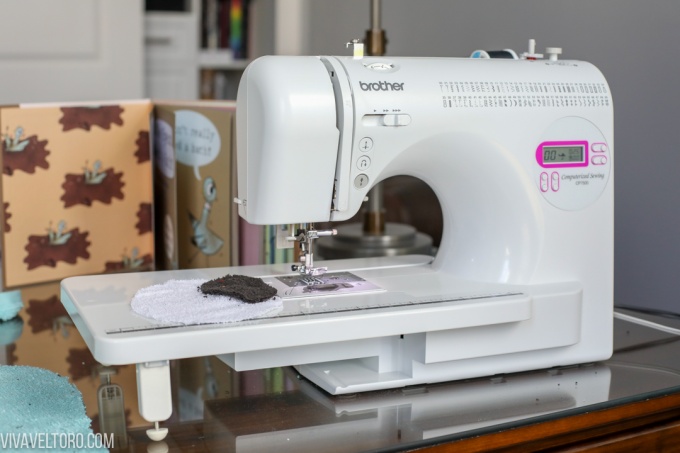
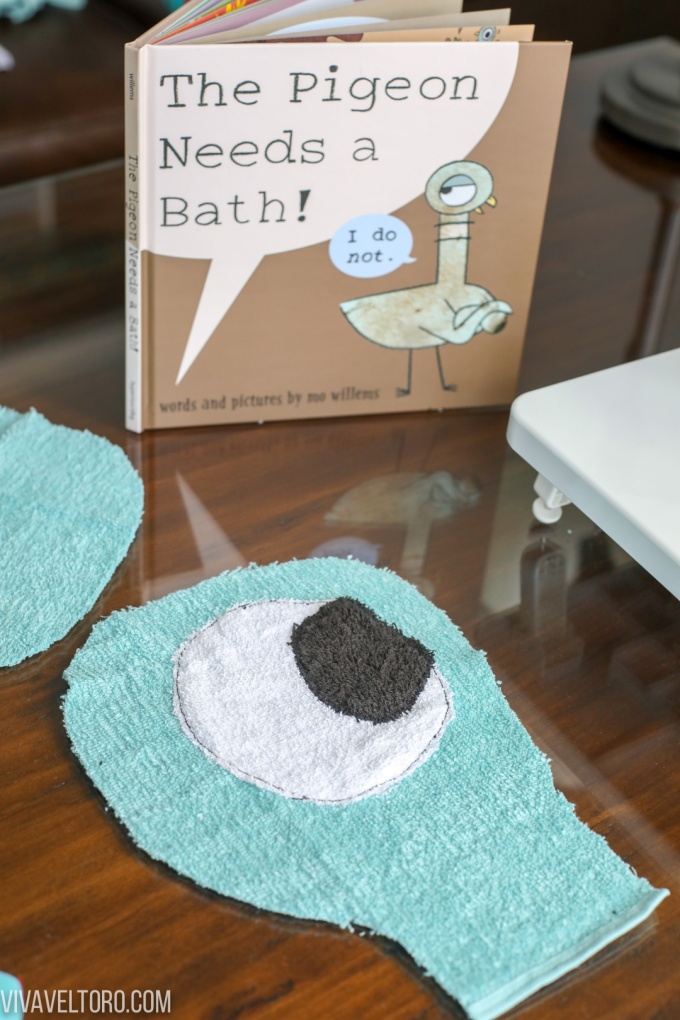
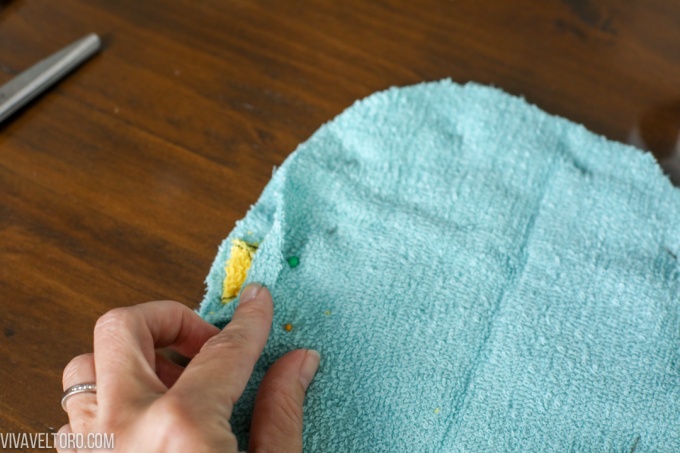
The beak was a little trickier since it was close to the edge. To prevent the beak parts from completely fraying, I sewed each piece individually around the perimeter with a straight stitch. Then, I sewed the beak onto the face. I wanted the beak to overhand the profile a bit so I only sewed a U-shape for each piece of the beak and left enough fabric to fold the beak parts back to avoid getting them caught in the seam when I sewed the two right sides of the Pigeon head together.
I placed the two sides of the Pigeon head (right sides facing each other) and sewed them together using a zig-zag stitch to secure them and prevent further fraying of the terry cloth. Then, I simply turned the bath mitt right side out and that was it!
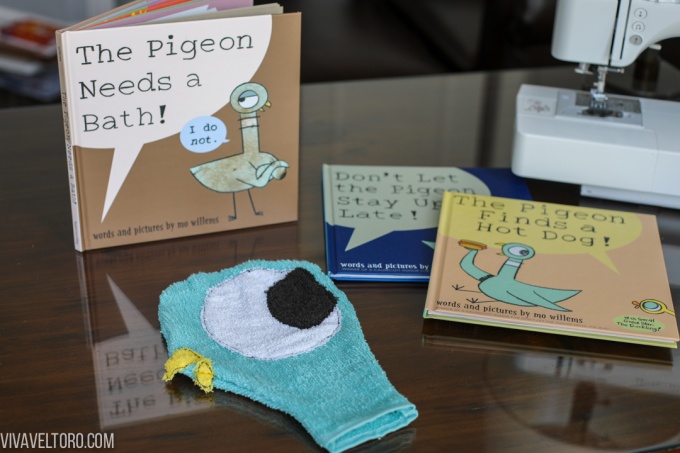
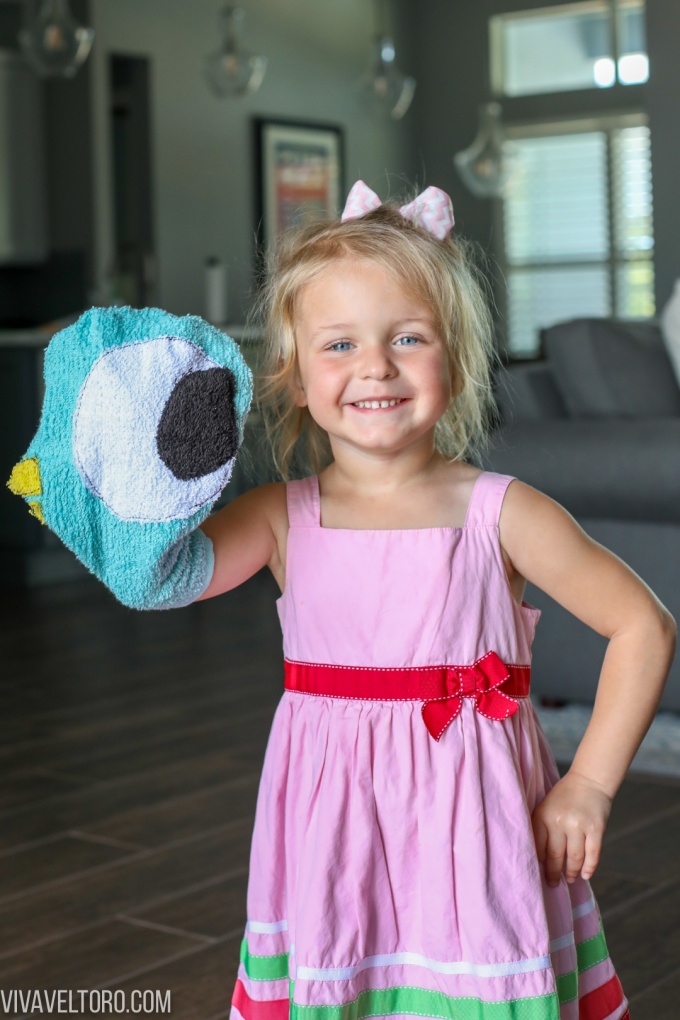
This DIY project took hardly any time at all and my daughter absolutely loved her DIY bath mitt that resembles her favorite character. Since this is a children's bath mitt it doesn't need to be perfect. Just like the spirit of Mo Willems' Pigeon series, have fun with it!


Miranda Welle says
This is super adorable! Thanks for sharing!