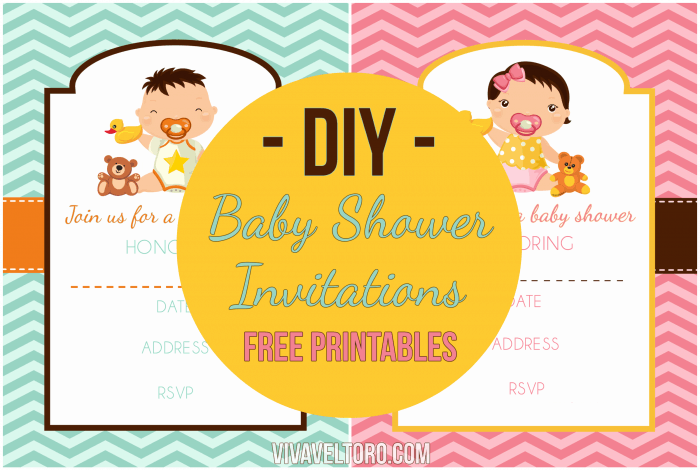
I've partnered with BeFunky to showcase how easy it is to create DIY baby shower invitations.
As a blogger, I do a lot of photo editing and graphic design. While there can be a steep learning curve to learn how to take amazing photos, editing programs really have come a long way and can do wonders! Gone are the days of needing to invest in super expensive software to edit and optimize your photos or create awesome graphics. These programs are totally unnecessary for most people and have tons of features that you won't need or know how to use. Thanks to the powerful photo editor and new easy-to-use graphic design tools from BeFunky, I've been able to do some amazing things myself - like creating super cute DIY baby shower invitations.
If you haven't tried your hand at creating graphics or invitations, it can seem overwhelming, but really it's not. When I was planning my wedding (which seems like forever ago), I created and printed all of the save-the-date cards, wedding invitations, programs, place cards, table numbers, and pretty much anything else you can think of, all by myself... and that was before I knew of any fantastic online editing and graphic design websites. I did it all using Microsoft Powerpoint - and THAT was a challenge. Now, with the help of BeFunky, I can create pretty fabulous graphics in no time at all. To show you what I mean, I created these adorable baby shower invitations in less than 30 minutes.
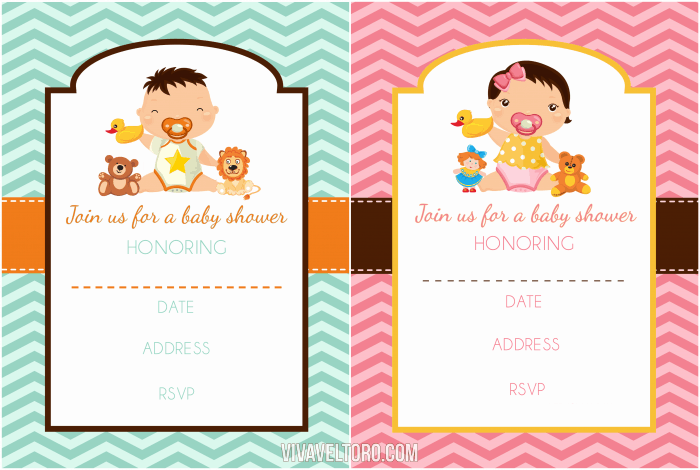
Allow me to show you just how easy it is to create fab graphics using BeFunky. I started by finding some stock images online. I knew that I wanted to create a boy and girl option for these invitations, so I purchased the backgrounds (with extended royalty free licenses). Although I chose to go this route, you certainly don't have to thanks to the seriously awesome partnership between BeFunky and Pixabay. With over 400,000 images to choose from, the possibilities are really endless.
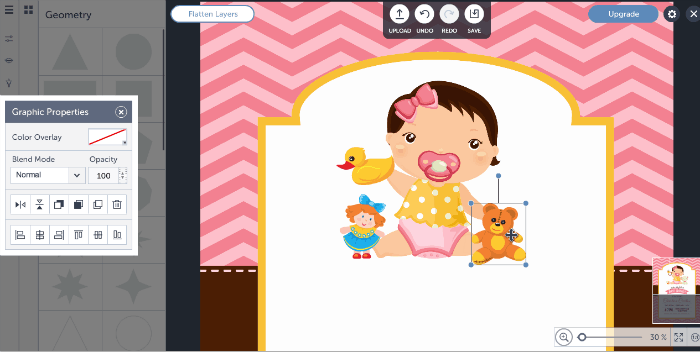
Once I had my backgrounds, I uploaded them (one at a time) to the graphic designer and started editing them. There was already some text on these stock invitations, but I wanted to make them my own, so I used the "geometric" graphic overlays from BeFunky to "white out" the imagery and wording so I could start with a blank slate.
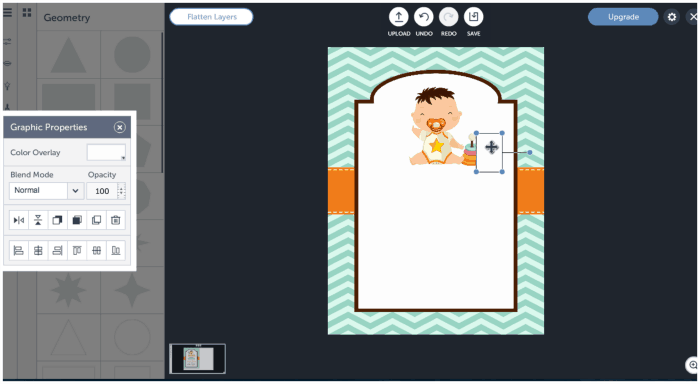
Next, I wanted to keep that cute little baby because well, these are baby shower invitations, but you could really use these invitations for just about anything - a summer picnic, birthday party, save the date, you name it!). Once I layered the overlays until just the baby remained, I was ready for the fun part - adding text and cute details.
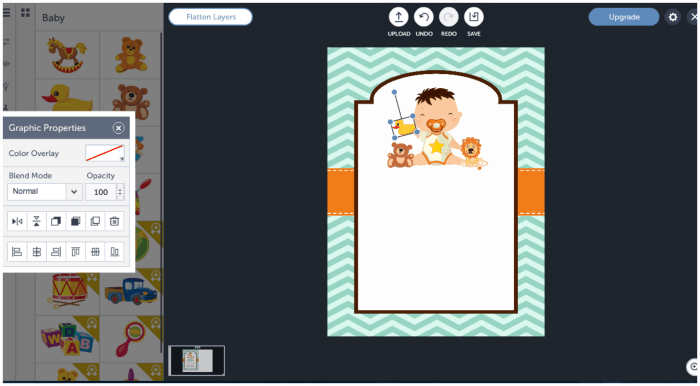
I wanted to add a few fun accents to the invitation, so I added some whimsical elements using the free vector images available on BeFunky (and they have a ton of them!). I added the little duck to the baby's hand and was able to slightly tilt it so it wouldn't cover his face, then added a few other vector images to make it appear he was sitting among his toys. Super cute, right?!
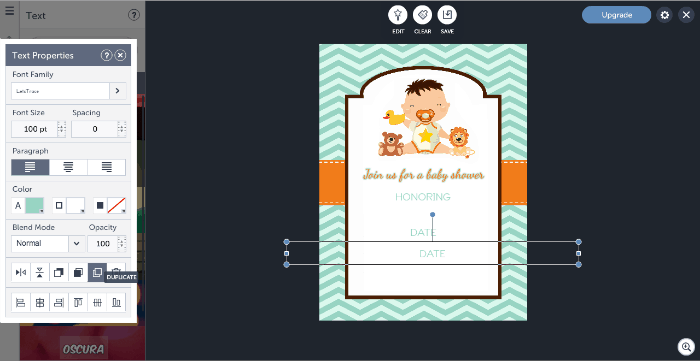
It was then time to add the text. BeFunky has a TON of great fonts and you can choose any color or match it to your existing imagery using their "color dropper" tool. If you already have your own library of favorite fonts you can also access those (just toggle over to from "Ours" to "Yours" when you're selecting the font). Once you've settled on your font, you can "duplicate" it as many times as you want so you won't have to reselect the same font, colors, size, etc. You can do this with overlays and vectors too which makes it all so much easier.
Then, I basically did the exact same thing for the girl invitations. By this time I was getting really comfortable with the features in BeFunky so it was simple. I also started envisioning all of the other fun projects I could create using this website.
If you haven't used a website like BeFunky.com before, I encourage you to play around with it (since it's FREE) and get your creative juices flowing. It was pretty intuitive for me since I've used similar websites before, but I think most people will be able to jump right in. They even have great tutorials for you on the homepage and on the BeFunky blog. Once you're ready to step-up your game, you can think about joining BeFunky Plus to access hundreds of premium features and vectors. Honestly, I'm super impressed with the site and will definitely be using it again (and again, and again).
If you love the baby shower invitations I made, you're free to use them (personal use only; not for resale).
Click on the links below and save, then open in BeFunky's image editor to add the text of your choice, then print!
You can scale them to different sizes for your printing needs or preferences.
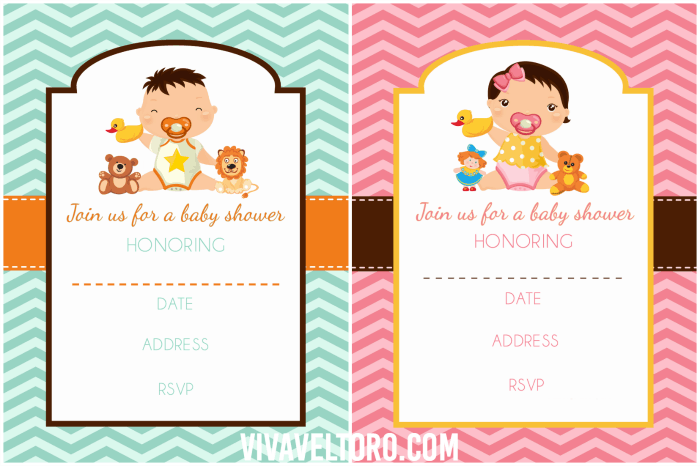
Get the BOY invitation HERE. Get the GIRL invitation HERE.
(vivaveltoro.com will not be on these files)
Disclosure: Special thanks to BeFunky for sponsoring this post. Images purchased with extended royalty free licenses, © comodo777 / Dollar Photo Club.
Amber Ludwig says
SO CUTE!! Ive always wanted to learn how to design graphics and work with awesome programs!! This sounds like something I could figure out 😉 Your invite turned out so fantastic!
Sarah L says
That does look easy to use. Cute invitations you made.