Kinder Surprise Eggs had long been banned in the US, but making your own chocolate surprise eggs is easier than you think! We'll show you how to DIY chocolate eggs that you can hide fun treats inside.

What is it about these little chocolate eggs that are so ridiculously appealing this season!? Kinder Eggs had long been banned in the US due to the hidden toys inside. A new version has been released within the past few years, but they aren't the classic Kinder Eggs that you can get overseas.
With this tutorial, we'll show you how to make your very own chocolate surprise eggs. These DIY Kinder Eggs are kind of the ultimate treat for toddlers and beyond! Since we've made these and have left them on the countertop to save until this weekend, my boys are going absolutely crazy waiting to open and eat them. Your kids (and probably everyone else in the house) will love to make and eat these too!
How to Make Chocolate Surprise Eggs
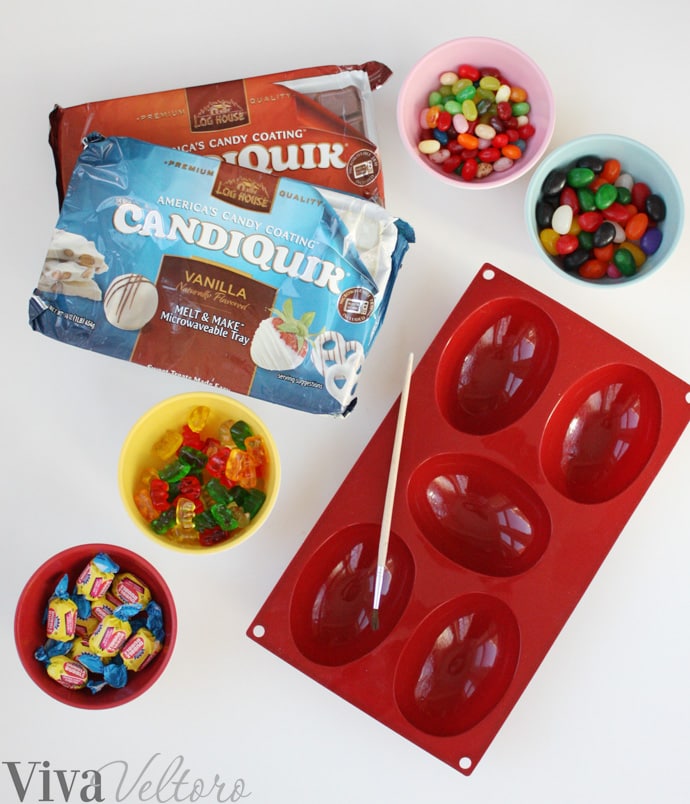
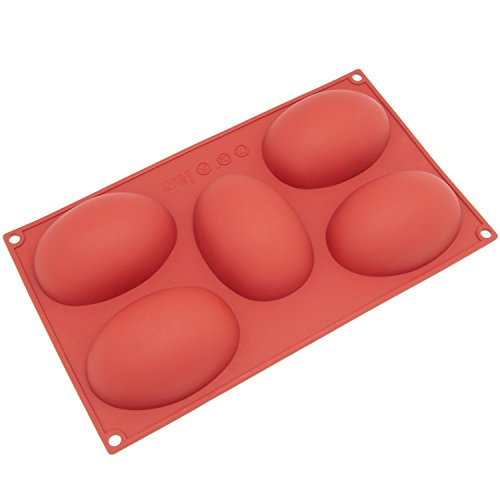
The key component to making these work is an egg mold. I tried using traditional plastic eggs that break open in half, but it was an epic fail. You'll have much better luck sticking with something a little larger that makes a long oval. I knew silicone wouldn't let me down, and I found this inexpensive silicone egg mold on Amazon with free shipping, and it was totally worth it. NOTE: If this mold isn't available, try this one instead. It's really cute!
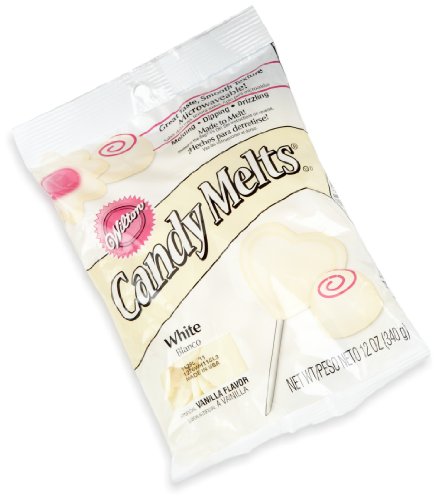
You'll also need some sort of baking chocolate. Those candy melt wafers would work great. I used trays of baking chocolate, which can be found at Target.
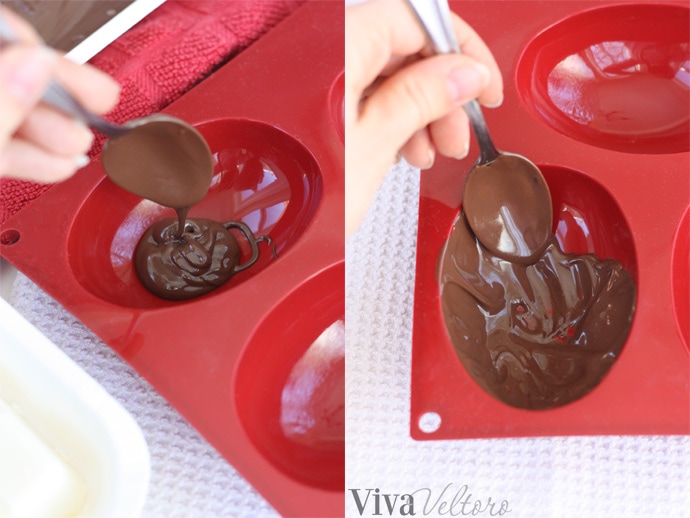
Step one is to melt your chocolate in increments of 20 seconds until it is smooth, but not too hot. You want to use it when it is "almost-cool", spreadable, and quick to set up. Plop a spoonful into your mold and immediately start spreading it with your spoon up on all sides. Make sure it isn't too thin and work only one at a time so the chocolate doesn't set before you're done!
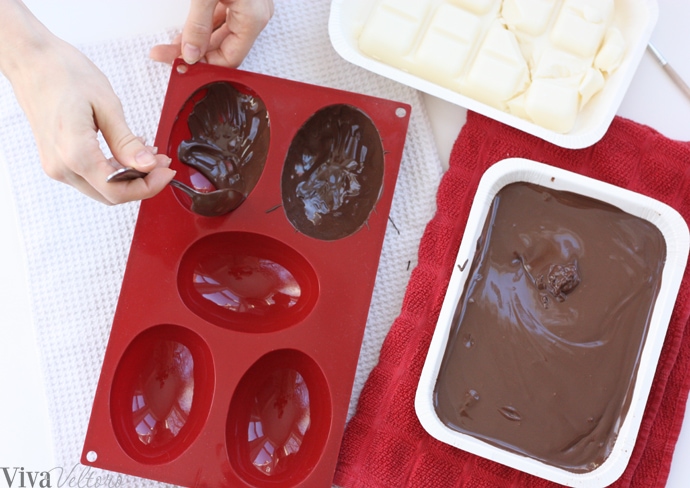
The moment you're done, flip over your mold onto a flat surface and cool it in your fridge for 10 minutes. Placing it upside down helps the extra runny chocolate form a lovely rim that will be helpful when you seal the two sides together. Again, I opted for silicone and placed my mold on a silicone baking sheet to cool. You could also try wax paper.
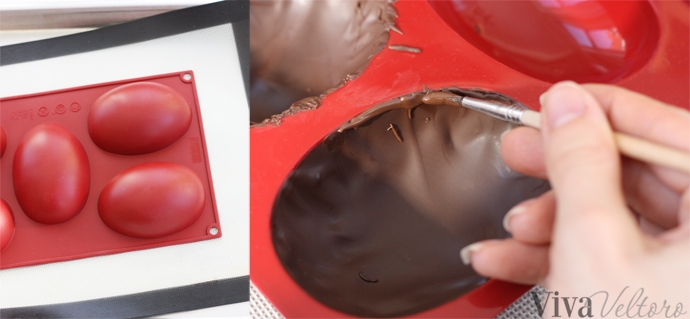
If you don't get a nice substantial rim (which is essential for getting a good seal later), you can paint on a thin line around the edge, then flip it over and cool it in the fridge again.
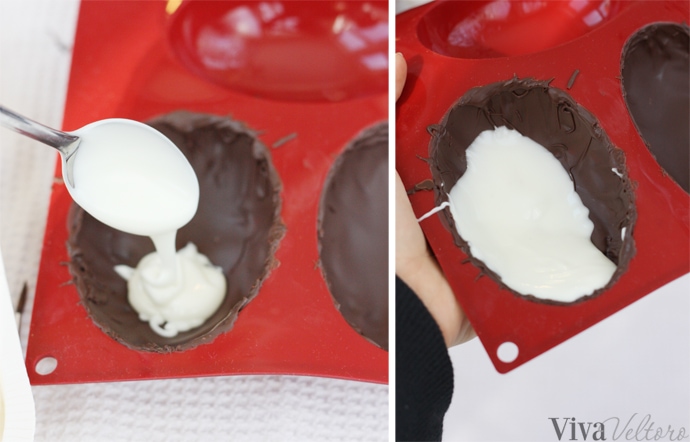
Now its time for the white chocolate layer! Melt it til runny, but not hot enough to re-melt the chocolate underneath it. With this layer, instead of spreading it with a spoon, I was able to simply turn and rotate and rock the mold until the white chocolate ran all the way up the sides. Again, flip and cool in your fridge for another 10 minutes.
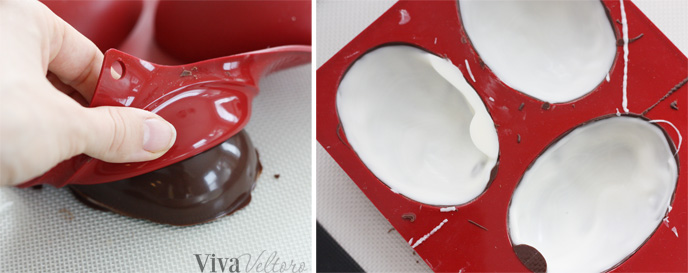
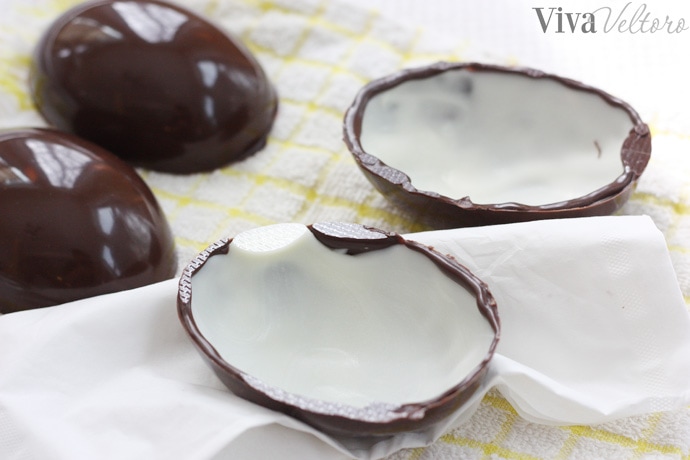
And THIS (above) is why I love using silicone! There is no fight or stress in trying to get your egg out in one piece. Simply peel the silicone away and you've got gorgeous eggs. With the halves you see below, if you choose, you can take a sharp knife and shave away the extra chocolate where it built up, but I prefer to leave them there since they are great places to put a little extra sealing chocolate when you're joining the two sides.
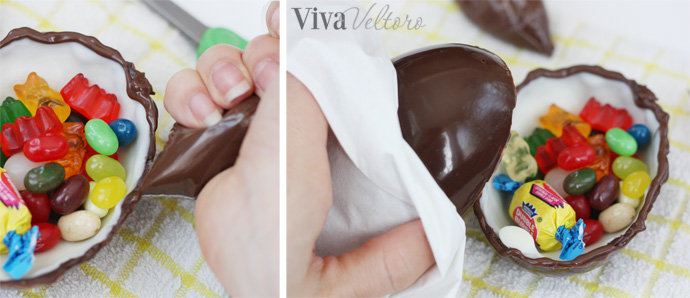
After you've filled up your eggs with the treats of your choice, you'll want to seal them up. To seal up your two sides, pipe some more warm chocolate around one rim and work as quickly as you can to cap it with the other half! Be sure you wear gloves or use a tissue when you handle the chocolate so you won't smear that pretty glossy finish with fingerprints.
Take a sharp knife and trim off the extra chocolate that seeped out the side.
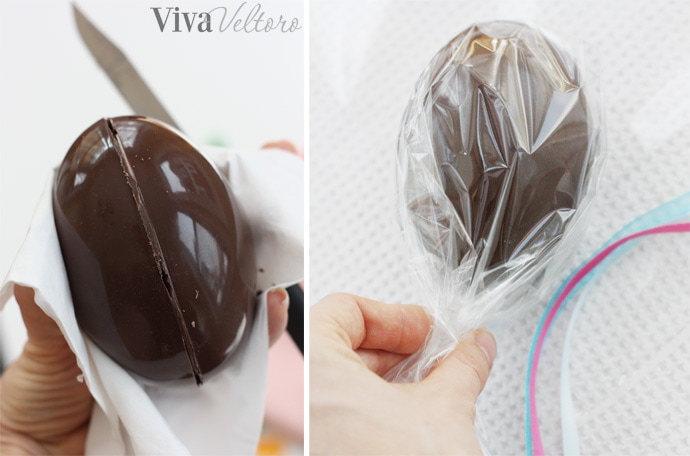
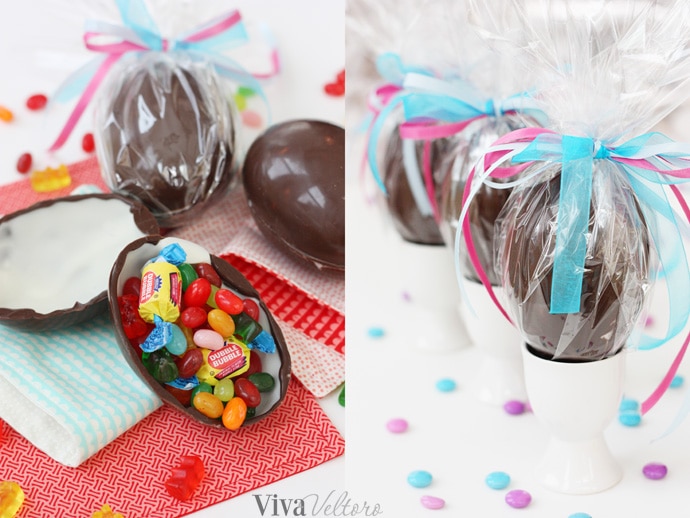
Wrapping the eggs in cellophane is a fast and pretty wrapping option. For these 4" eggs, I cut squares about 15" x 15" and tied them with three ribbons on top.

Once you get a good system down, you can make these in minutes! These make lovely table decorations, festive desserts, and treats that the kids will squeal about!
Do you have any egg-making traditions?
Will you be making these chocolate surprise eggs?
Get the supplies on our affiliate Amazon:
5-Cavity Egg Shape Silicone Mold Wilton White Candy Melts, 12-OunceWilton Light Candy Cocoa Melts, 12-OunceAssorted Candy Party Mix, 6x6x6 Bulk Box (Appx. 4 Lbs): Fire Balls, Airheads, Jawbusters, Laffy Taffys, Tootsie Rolls and More!

Disclosure: Amazon links are affiliate links.
Christina @ Embracing Simple says
What an adorable idea! My daughter is only 8 months old so she can't eat chocolate just yet, but I'm thinking about making these for the adults for Easter! 🙂 This is way too cute.
Jo-Ann Brightman says
This is a wonderful recipe , especially to,try in time for the Easter holidays. I love chocolate and egg surprises.
Amber Ludwig says
These are too cute!! I totally tried the plastic egg one in the past and also had an epic fail, lol!! I swore Id never try again!! But you make it sound so easy so I may give it a whirl this year! My son will be so psyched!
Kathy says
Love this idea.....I may have a egg mold..hmmmm will have to check, thank you for sharing
Kathryn says
This is such a lovely idea, I love that you can personalise it too, by putting inside a gift or the persons favourite treats. Thanks for sharing : )
Kathryn | Nimble Note
Emily @ My Love for Words says
These are amazing! What a great idea. I'm going to have to try these. My kids would love them.
Mia says
How fabulous this would be to find in an Easter basket. So darling.