Recently we made a wood platform bed for our master bedroom and we knew right away that it needed a headboard. I wanted to share how to make a wooden headboard with you so you can build your own!
This headboard was SO easy to make and I love how it looks. We wanted a rustic, farmhouse style look (I have no shame in the trendiness, ha!) and I think this headboard really pulls our whole room together. Since we already had stain and polyurethane, we spent less than $50 on the supplies!
How to Make a Wooden Headboard
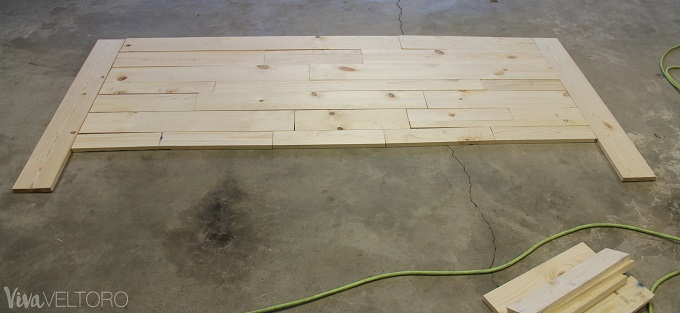
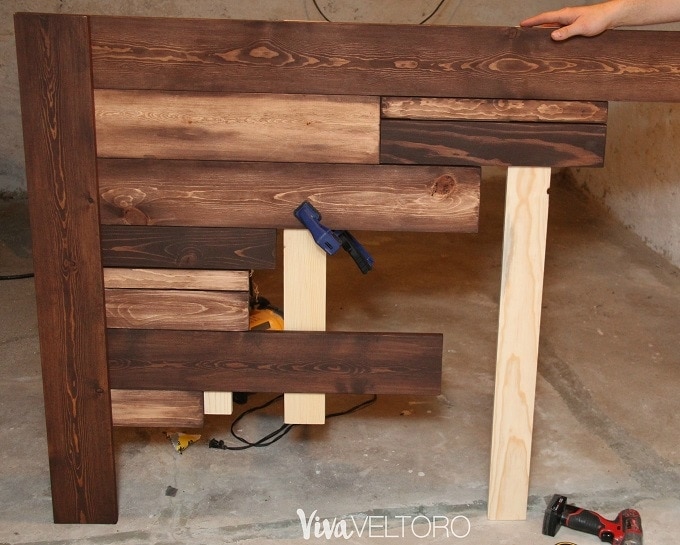
We started off by purchasing wood, screws, wood putty, and foam brushes. I used this amazing headboard as my starting point, though we deviated a bit from those plans. The first thing we (okay, my husband) did was cut the side boards to 44" tall. We could have gone taller, but since we have a platform bed that's so low to the ground, 44" is perfect. Then my husband cut the 1x6s, 1x4s, and 1x2s to various lengths adding up to 82", because that's how wide our bed frame is.
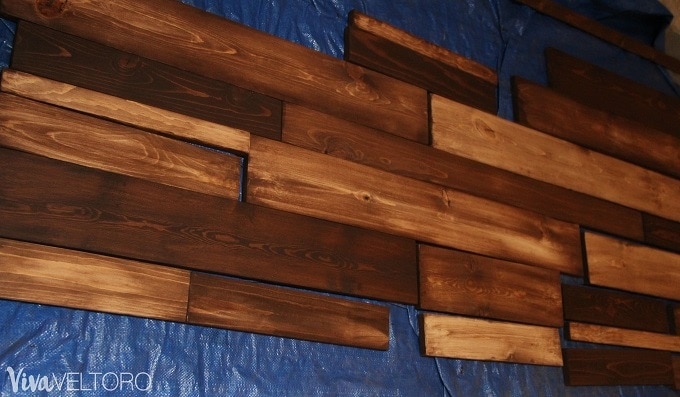
After setting everything up, my husband sanded all of the boards which is probably what took the longest. Then it was time to stain! I wanted a variety of colors, so some pieces I stained and let sit and some I stained and wiped immediately. I also brushed water on some to get an even lighter effect. You kind of have to just play around with this and go row by row to get a variety of shades of the stain.
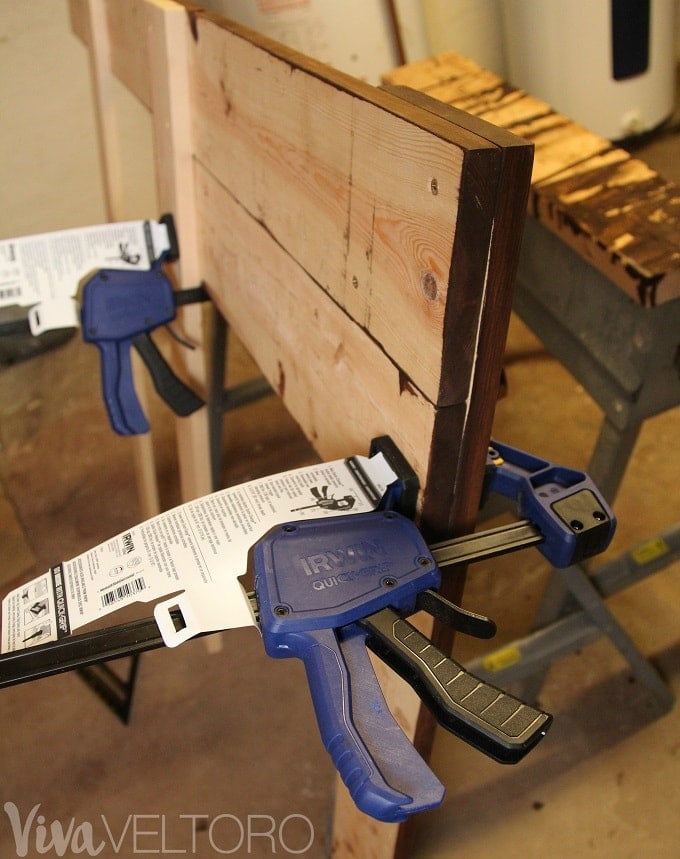
After the stain has dried, it's time to start assembling the headboard! Make sure you grab a square and some clamps for this part-you'll need them.
Assembly
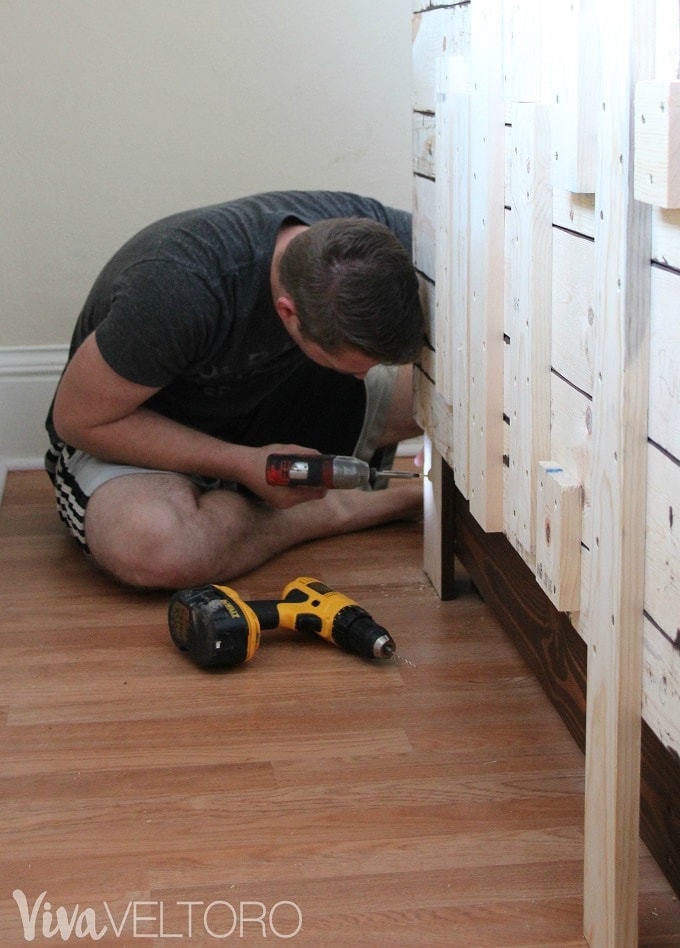
My husband started with the left side and worked his way to the right. He clamped the boards and then screwed piece by piece together.
I really enjoyed watching it come together. This is crazy, but at almost 30 years old I've never had a bed with a headboard. The ones I've seen (and liked) in stores have been crazy expensive for a room that barely anyone sees. For the low cost and ease of making this project, it's definitely worth the outcome!
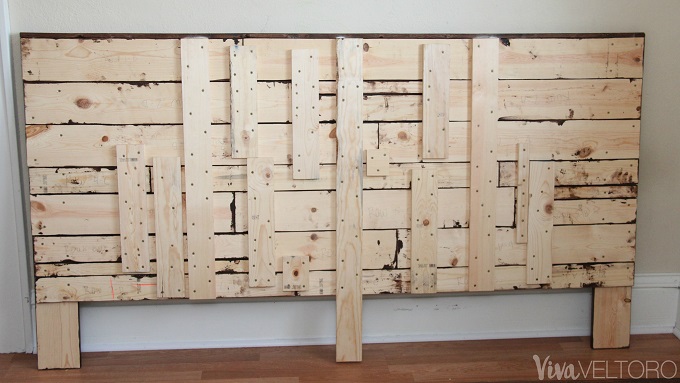
After the whole thing was together, it was time for polyurethane. I did three coats of polyurethane, sanding between each one. My kids are hard on things so I wanted to make sure it had a great finish. To secure all of the small pieces of the headboard, my husband used scrap 1x2s and 1x4s as supports. It may not be pretty, but it's heavy duty!
Then we attached the headboard to our bed frame. We did not attach it to the wall though some people choose to go that route. I feel like ours is sturdy enough screwed into the frame itself.
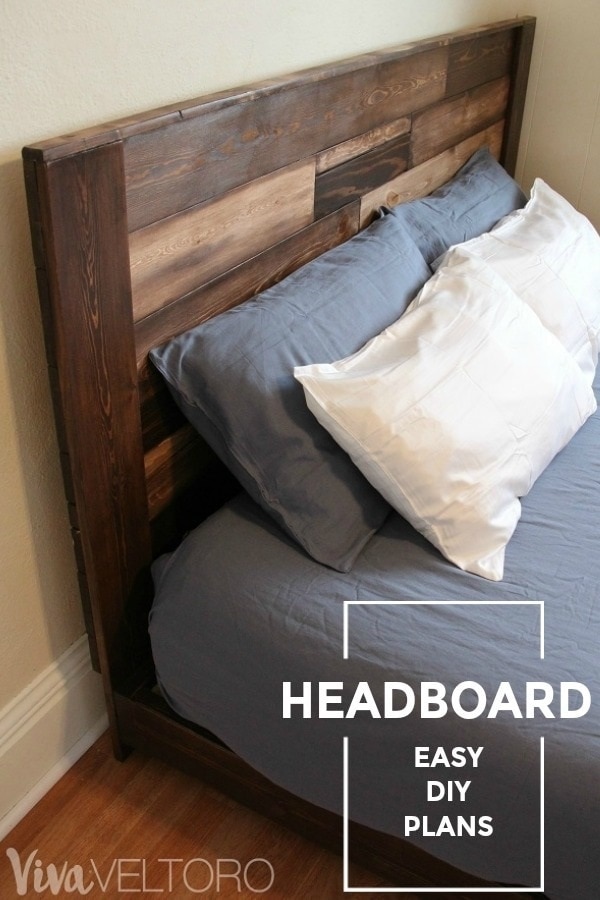
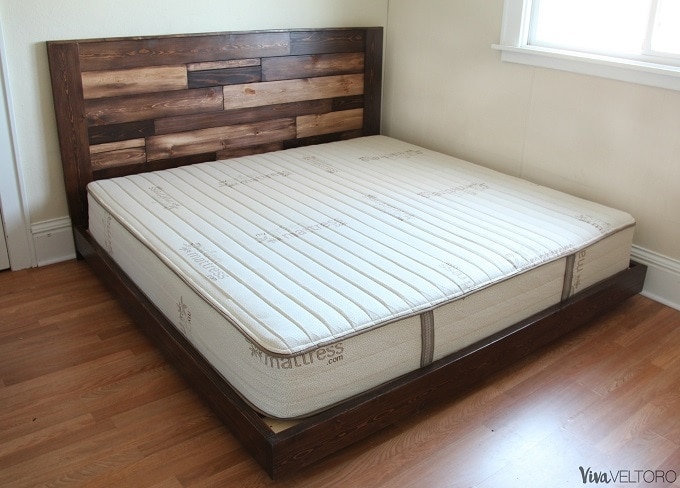
Here's the finished product! I honestly couldn't love it more. I'm a little surprised with how seamlessly it came together and how well it works in our room.
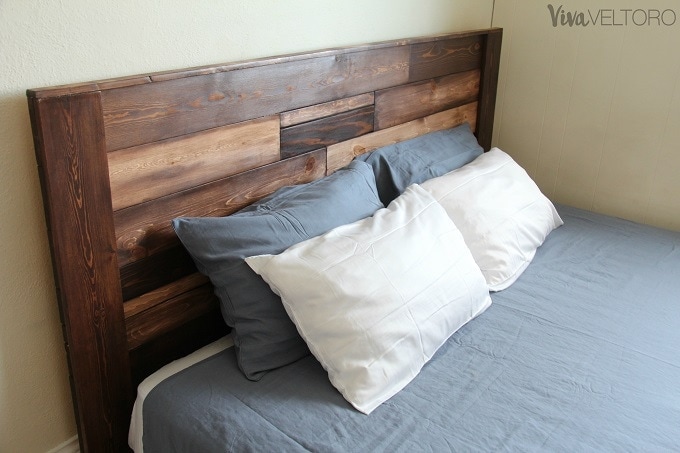
I'm so thankful for my handy husband and his ability to bring my crazy ideas to life! And now we've got a bunch more DIY plans in our heads (or at least in mine, ha!). For the headboard, here is a full, printable list of supplies and instructions.
If you want to see how to build the DIY platform bed frame, you can find that here! To see our new, non-toxic mattress and bamboo bedding and enter to win those giveways, head here.
I'd love to hear what you think of this headboard!
Let me know in the comments!
michelle turner says
i love the bed!!!!
Mommy Crafts says
Love it! and cheap is the best way to go and making something yourself, great work! love the color
Vanessa says
What size bed are these plans for?
Amber says
This is for a king-sized bed! Though if you made it, you'd want to go off the measurements of your own bed as not all kings are the same size. Thanks for reading!
Bed Boi says
Looks awesome. I grabbed the lumber to build it based on the cut list but I feel like I'm short a 2x4 for the inner frame at the head of the bed. I don't understand why you skipped it and how this would make any difference at all for the pillow gap you mention since it's under a slat anyway, or how it would make the bed further from the wall. Can you help me understand? Were you just short a board?
Laura says
I followed the plans and made both the headboard and the platform bed. I did it all by myself as my husband has been working 12 hour days and I've got a bit more time on my hands. I got into building recently and I loved that the plans were easy to follow. The only frustration I experienced was the fact that the 1 x 2's and the 1 x 4's didn't actually add up to the 1 x 6's I used so I had to get creative when I put them all together. It was a big game of Tetris!! I love how it came together and I am thinking of building one for our current bed (that is a queen and will end up in the guest room). I haven't quite finished putting on the outside boards of the platform but will do that soon. I also cut the platform legs to 12" because I wanted a taller bed. My husband is a heavy/big set/"fat" man so it was important to find a sturdy platform for our bed that didn't squeak...I did add the extra board for the platform at the head of the bed for the extra support and I have the room. My husband LOVES it and although our queen size mattress is currently sitting in the King size platform (our mattress is on order) he can already feel the difference in the support. No squeaks!!! LOVE IT!!! Thank you!!!