This post is sponsored by OREO, but all opinions are my own.
OREO pops are so much easier to make than traditional cake pops and your kids will love to help you make them. You can make them even more fun by using Mystery OREOs, which you can find at your local Walmart! I've partnered with OREO to show you how to make your own OREO pops for Valentine's Day.

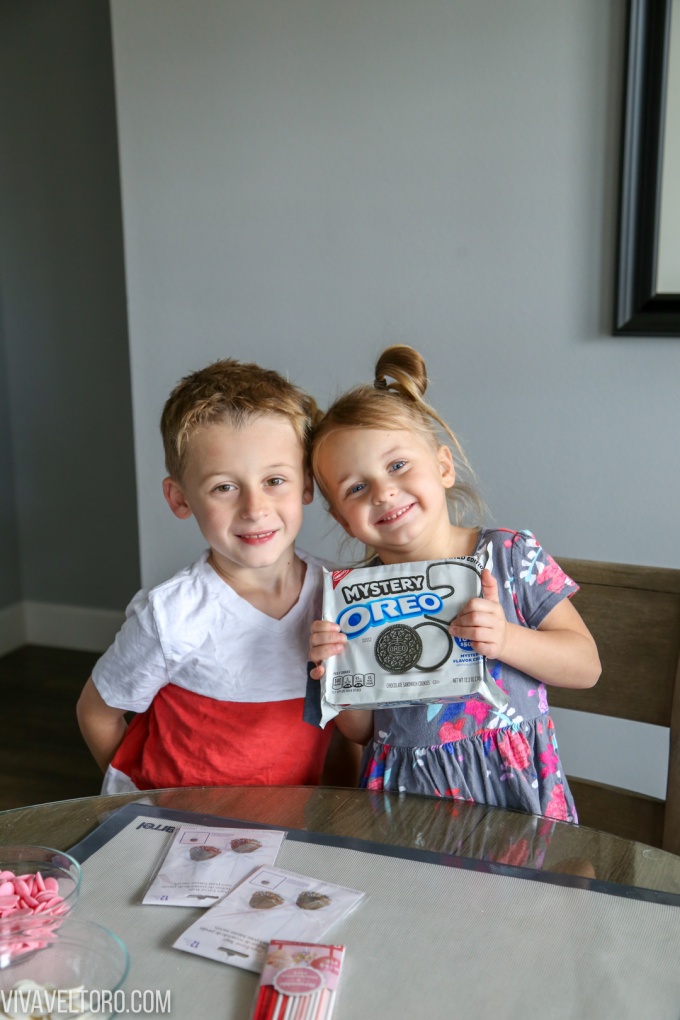
My kids absolutely love Valentine's Day and creating fun surprises for their friends. Rather than just purchasing store-bought cards and treats, we decided to make candy-covered OREO pops for their classmates. They're so easy to put together and my kids love decorating them and personalizing the pops for their friends. To make it even more fun, we used Mystery OREOs so their buddies could guess the mystery flavor. Who doesn't love a good mystery, right? What's even better is that you can get TWO packs of Mystery OREOs for the price of one at Walmart thanks to an offer on the ibotta app! If you don't have ibotta, you definitely need to download it! I've saved hundreds of dollars since I started using it last year.
To make our Valentine's Day OREO pops, we headed to Walmart for supplies. We grabbed our Mystery OREOs (don't forget you can get TWO packs for the price of one with the ibotta offer) right from the cookie aisle and then bought a few other things to get started.
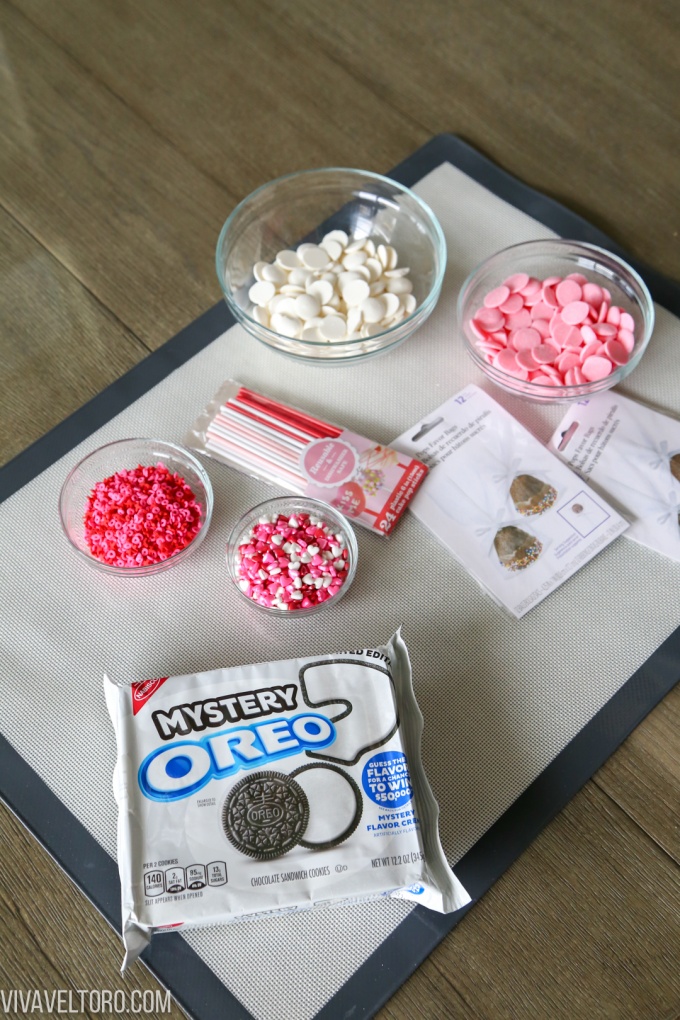
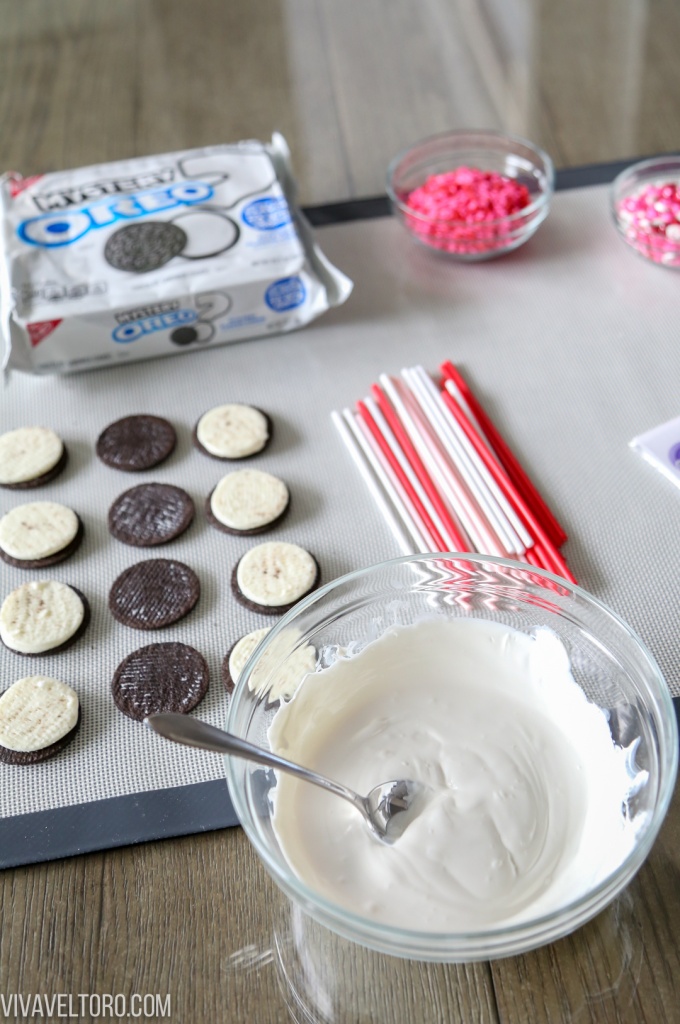
Besides your OREO cookies, you'll need cake pop sticks (or lollipop sticks), candy melts, sprinkles or candy for toppings, and treat bags for packaging them. It's also helpful to have a silicone baking mat or parchment paper for letting your OREO pops dry.
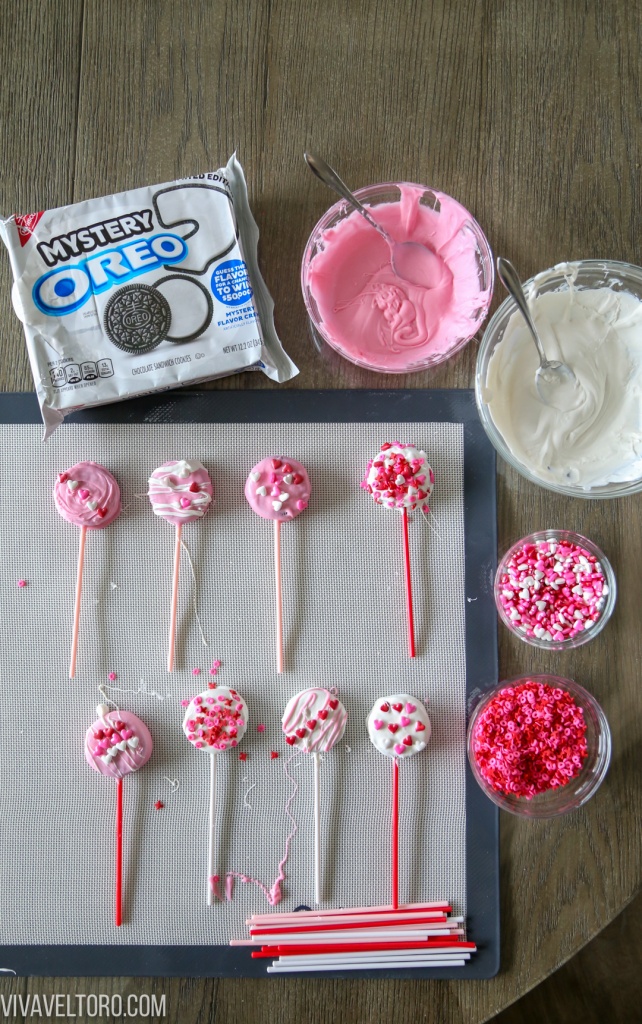
How to make OREO Pops
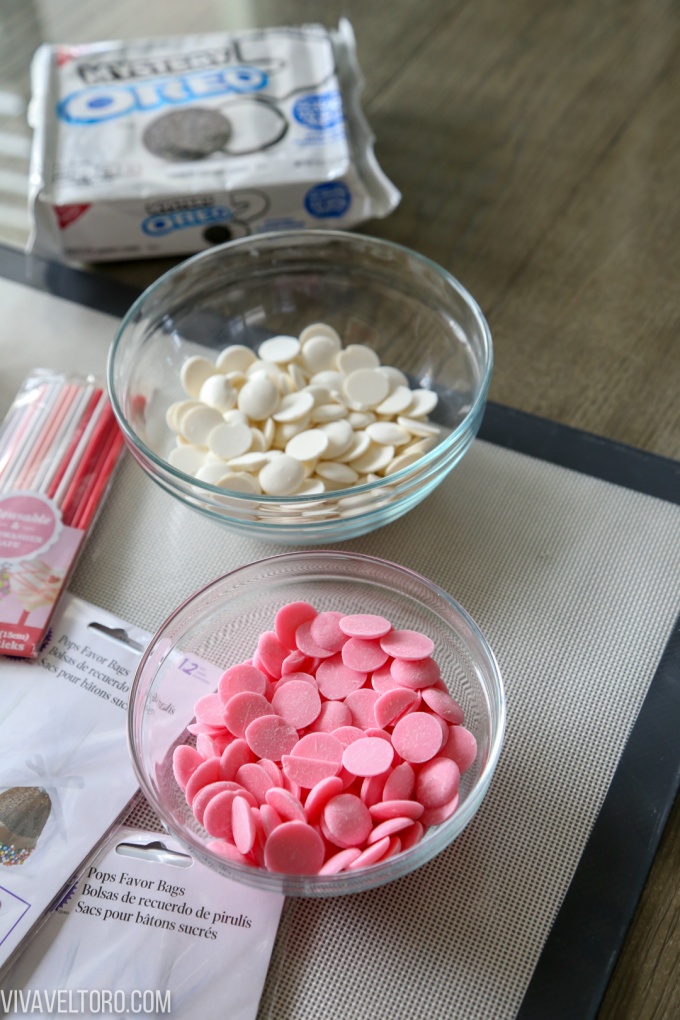
My kiddos chose pink and white candy melts, but you can pick any colors your heart desires. You can also use chocolate chips if you temper the chocolate properly so that it dries like a hard candy covering. To eliminate the guesswork and temperature measuring, we went the easy route with candy melts.
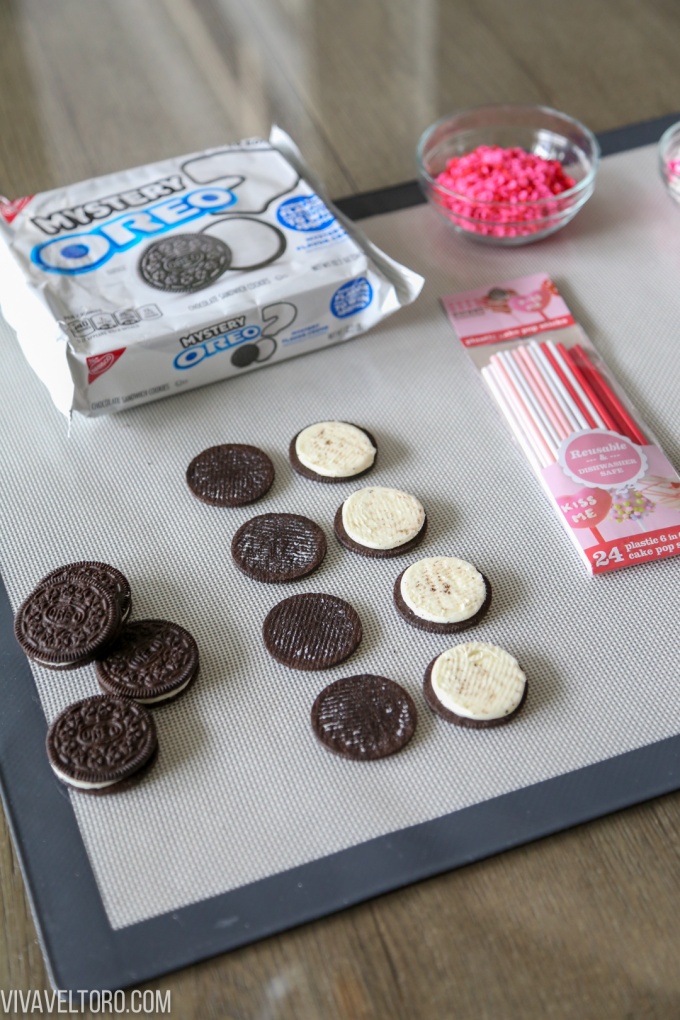
While you're following the directions of preparing your candy melts or tempering your chocolate, you'll want to prepare your OREOs. Simply twist them apart to separate them.
Once your candy melts are properly melted or your chocolate is tempered, spread a small amount on top of the creamy OREO center. Then, place one of your candy sticks in the center and then top it with the other half of the cookie.
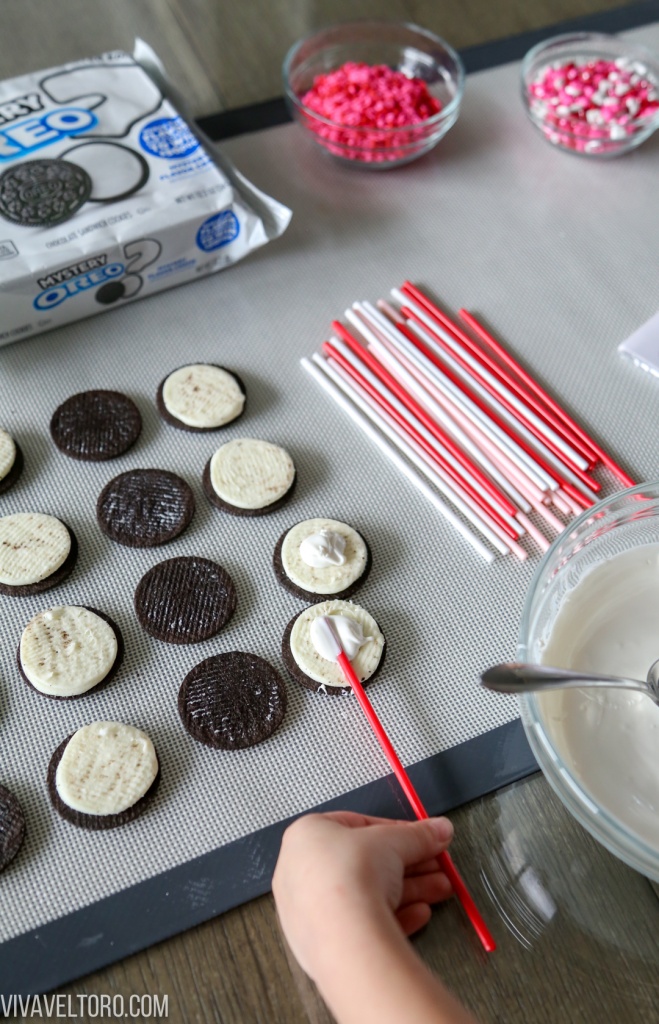
You're basically using your candy melt as glue to hold the stick in place. If you just tried to insert the stick into the creamy center, it would fall right out when you tried to coat your OREO cookies with the candy and toppings.
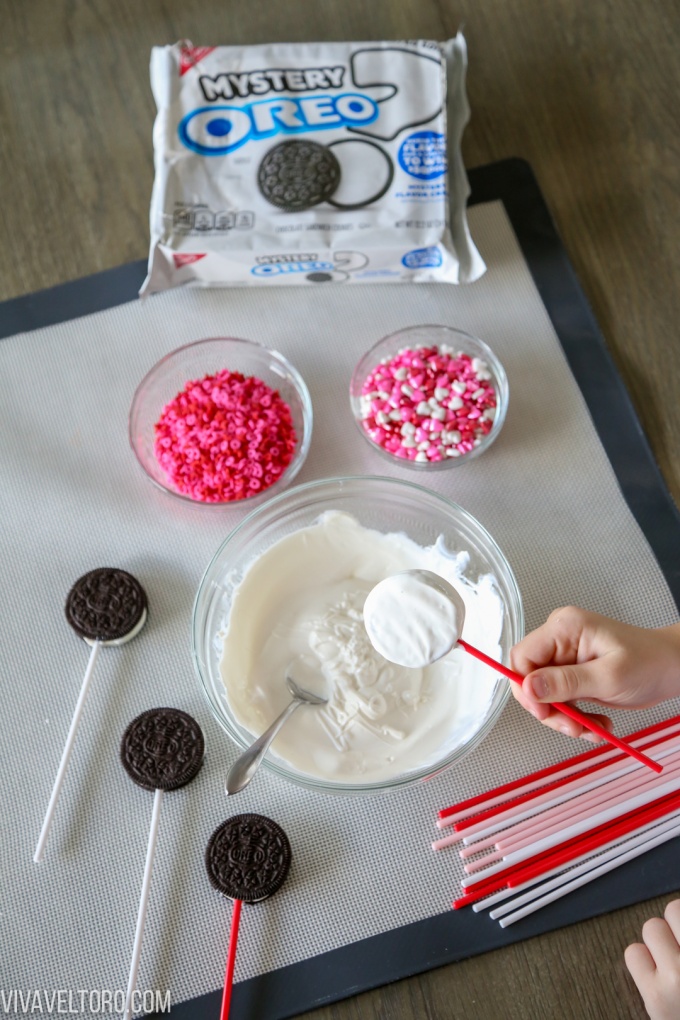
Let the newly sandwiched cookies dry for a few minutes and then you can start decorating them. Be sure to keep stirring your melted candy so it doesn't harden before you have a chance to dip and decorate your OREO pops. You can fully submerge your OREOs into the candy melts or even just dip half of the cookie into it. It's really up to you.
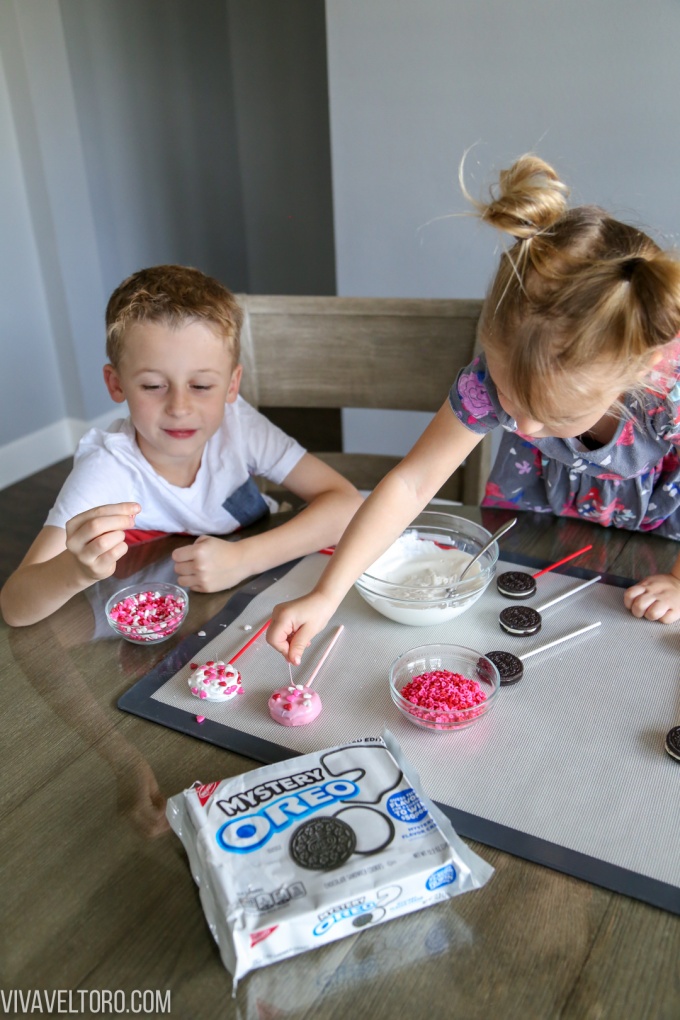
After you dip your OREO pops, let the excess candy or chocolate drizzle off and lay it on your silicone mat, parchment paper or even a cookie sheet. Then, the fun really starts and you can start decorating them. We used sprinkles to make designs and drizzled more candy melts over to make fancy zig-zag patterns.
My kids had an absolute blast making OREO pops for their friends and I'm pretty sure they may have snuck a few Mystery OREOs when I wasn't looking, but I really can't blame them. They are so good!

Once the candy-covered OREO pops were completely hardened, I wrapped them in treat bags and ribbon for gifting. I think they turned out super cute and I know their friends are going to love them.
Be sure to head to Walmart to take advantage of the ibotta offer to get two packages of Mystery OREOs for the price of one and let me know how your OREO pops turn out! These would make great baby shower favors, wedding favors, or a fun treat for just about any holiday.
Leave a Reply