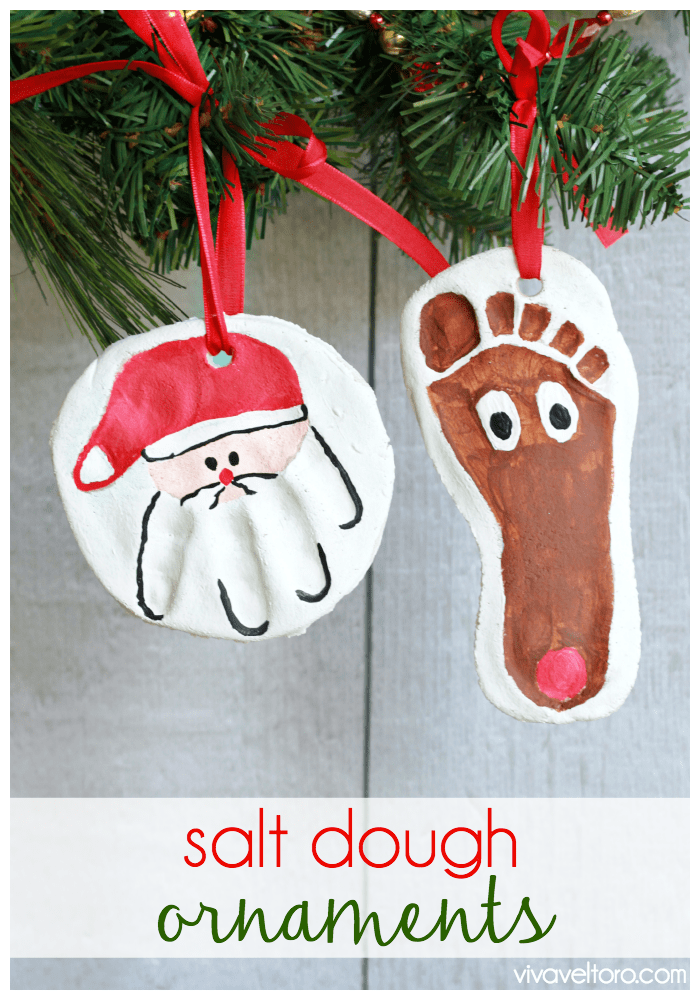
If you want to preserve your child's handprints, footprints and more, you'll love our salt dough ornament recipe. You can create little keepsakes that you'll treasure for years to come.
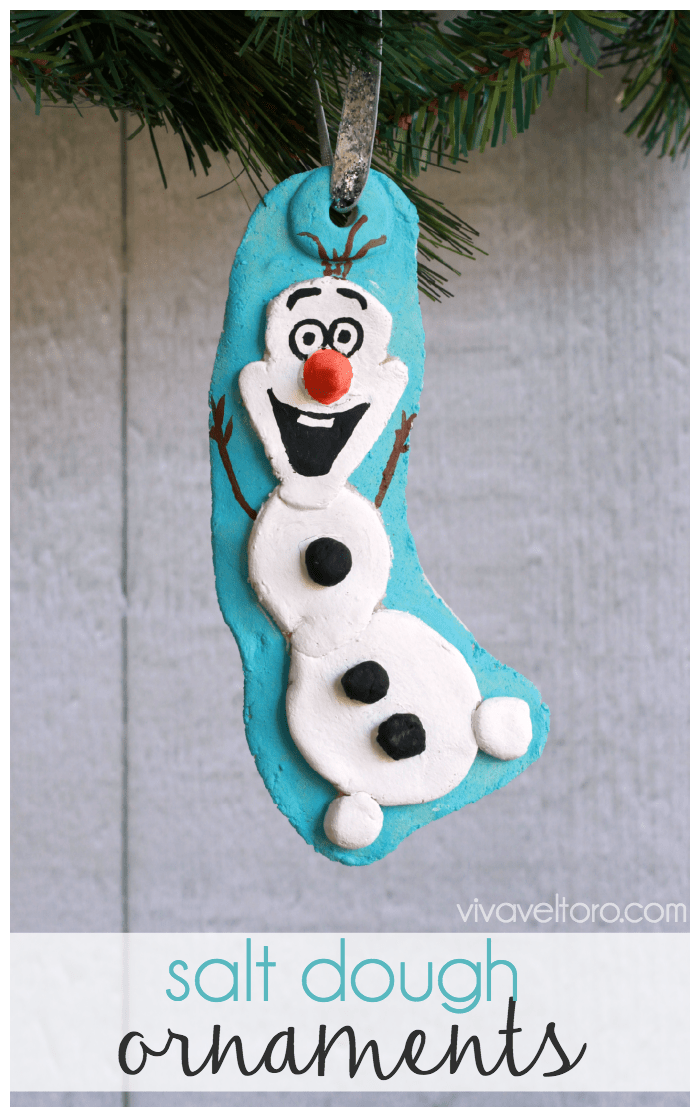
Salt Dough Ornament Recipe
My son's preschool was doing a winter fundraiser where they took the kids' handprints and turned them into little cut-out Santas. They were adorable, but I wanted to be able to preserve his little 2-year-old handprint on something sturdier than paper. That's when I remembered that I'd seen some friends on Instagram making salt dough ornaments. That would be perfect! They are so easy to make and you probably have most of the salt dough ornament recipe ingredients in your pantry (YAY for free crafts!). Since I made a pretty large batch of dough, I got a bit more creative and decided to do a few other ornaments as well, including a super cute Olaf from Frozen, a reindeer, a dove, and even some Teenage Mutant Ninja Turtles ornaments.
Here's what you'll need for your Salt Dough Ornament Recipe:
- 1 cup of salt
- 2 cups of flour
- 1 cup of water
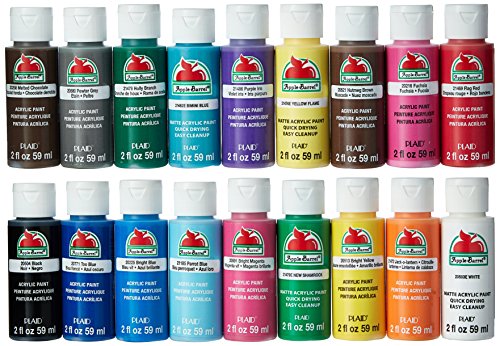
- acrylic paint
- paintbrushes
- ribbon
Feel free to cut this recipe in half if you only want to do about 4 handprints or so (depending on their size of course; you could do a lot more if you're making smaller ornaments).
Directions:
In a mixing bowl, combine your salt and flour, then start adding your water. You might not need the full cup, or you might need a bit more. You want your dough to be well mixed, but not too sticky or wet. Knead away until it's a smooth dough ball. My little guy loved the kneading part!
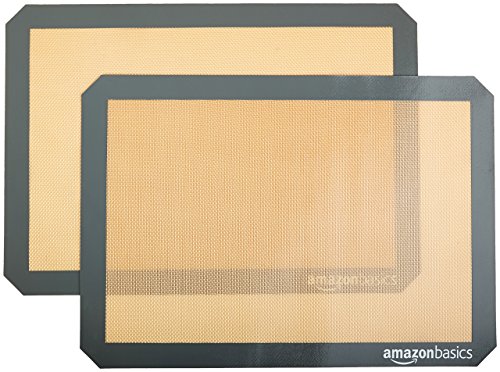
Once it's well combined, divide the dough in half or fourths and roll it out with a rolling pin. For my ornaments, I made large circles by turning glass prep bowls upside down and using them as cutters, then had my little guy press his hand or foot into the dough. Here's a tip, when it's time for footprints, line your cookie sheet with a silicone baking mat and put the dough directly on it and place it on the floor for them to step onto. It makes it much easier for everyone. I L-O-V-E the silicone mats - they are SO much cheaper than Siplat brand and work just as well.
Get the supplies:
AmazonBasics Silicone Baking Mat - 2 Pack Apple Barrel Acrylic Paint Set, 18 PiecePaint Brush Set

Feel free to get creative and makes shapes and characters that speak to your family. My son is a Disney fanatic, so I knew he'd love to see Mickey Mouse and Olaf adorn our tree.
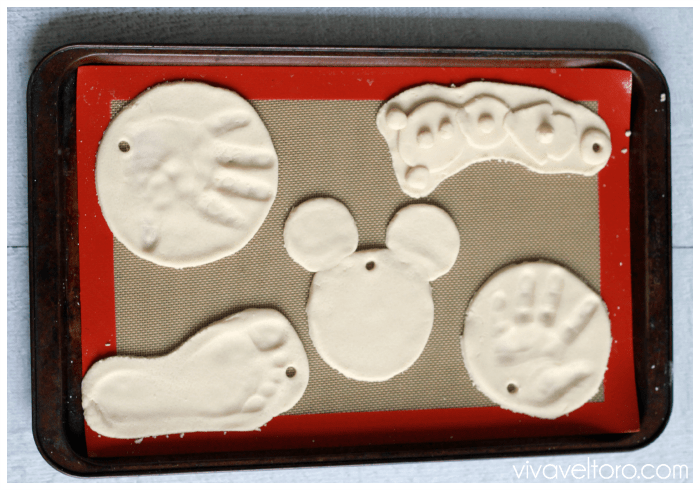 Once you've got your ornaments cut out, make sure you poke a hole somewhere on them so you can thread ribbon through to hang them on your tree. That's a pretty important step that you can't do later, so don't forget. I used a straw to cut small circular holes in my ornaments. I ended up with two trays of ornaments - the ones you see above, and another tray with more handprints (gifts for grandparents - score!) and a bunch of small circles to make Teenage Mutant Ninja Turtles ornaments (coming soon).
Once you've got your shapes set, bake them at 200 degrees for around 3 hours. I left mine in for 2.5 hours and thought they were done even though they were slightly tacky on the back side (silly me), and after I let them dry overnight, they curled a bit. That was kind of a bummer - so heed my warning - make sure they've dried all the way through. Once you've taken them out of the oven and let them cool for a few hours you'll be ready to paint them.
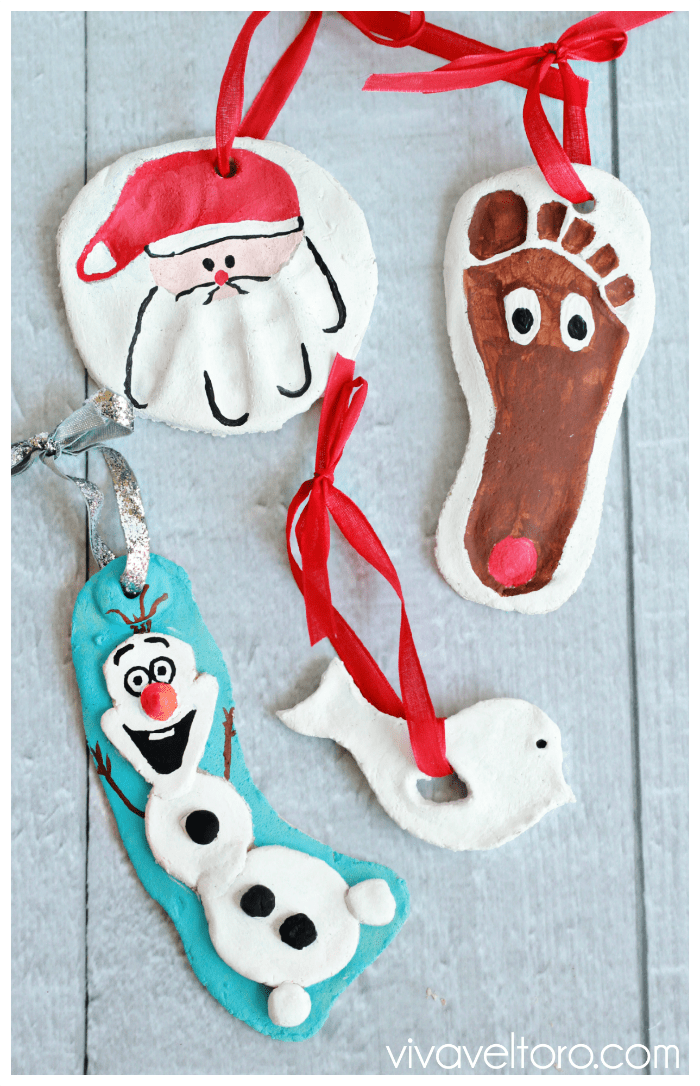
The beauty of making your own ornaments is that you can do whatever you'd like. I wanted to do something to capture my toddler's handprint and footprint, so the Santa and reindeer were perfect for that, but there are all sorts of ideas out there - just do a quick search of "salt dough ornaments" and you'll find tons! I snapped a picture of the cute Santa crafts they were doing at my little guy's school so I just recreated that here, and the reindeer was a spin on something that I had done last year (when I made my hubby a little reindeer card from my cutie).
To make my cute little Olaf, I basically just searched for an image of him then freehand designed his body and painted him accordingly. It's good to have a variety of small/medium sized paintbrushes on hand for this to do the detailed painting. I bought a cheap multi-pack, and all the paints were about $0.50 each, so that wasn't too bad at all. You can't really tell from the photos since they're straight on, but Olaf has a nice protruding carrot nose and everything.
So, what do you think of our salt dough ornament recipe?
Will you be making salt dough ornaments with your little ones?
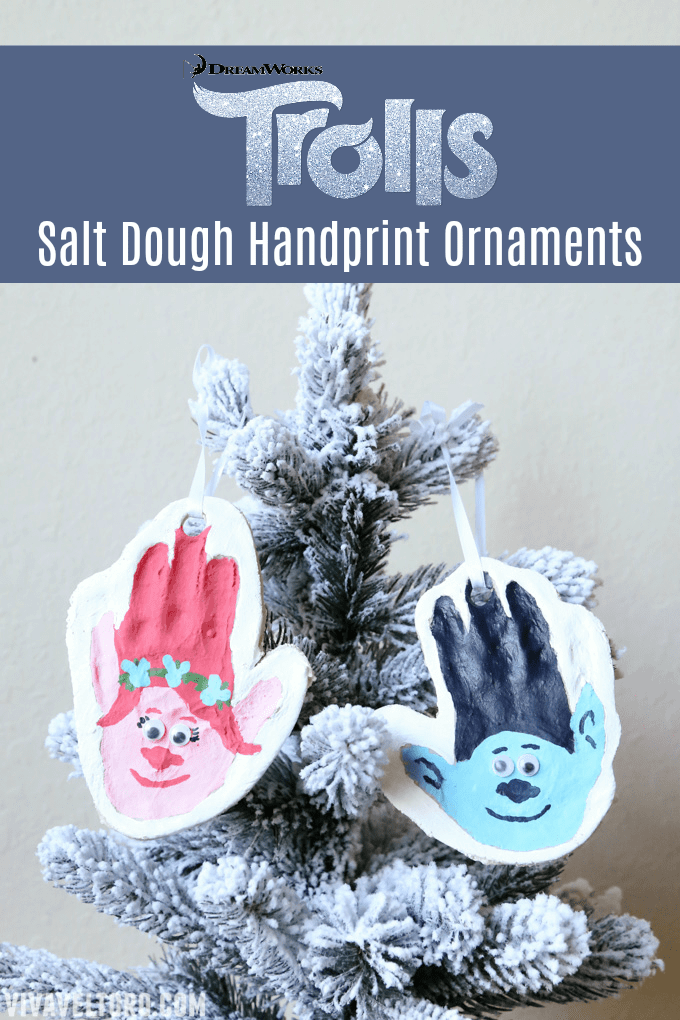
Also, check out our Trolls ornaments
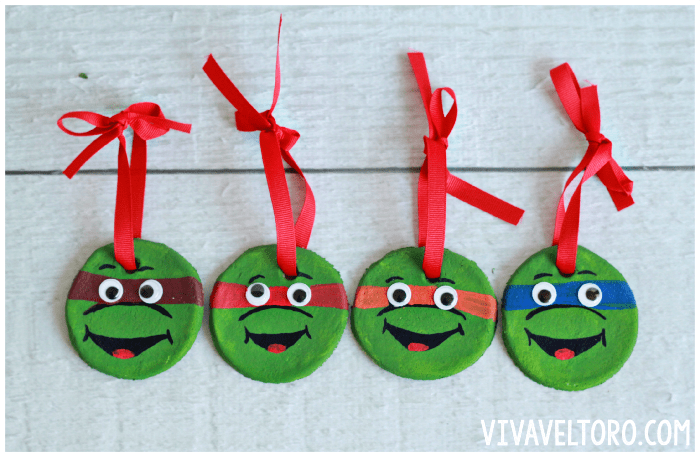
And, our Teenage Mutant Ninja Turtle Salt Dough Ornaments too!
Lindsey Galvez says
I'll be making these with my girls for sure - we need more ornaments with color for our tree and they would LOVE making their own! Pinning so I remember when my daughter is off for Christmas break soon!
Sam says
My 11 year old daughter and I did some last night. We used a slightly different recipe. She made cats in various colors for her tree. I did fish, stars, and trees for my 1 year old's tree, and butterflies and flowers for my other tree. It is so much fun, and cheap!
Anna M says
Thank you for posting this. It's a great idea for something to do when the kids are home from school!
Amber Ludwig says
Super cute and kid friendly! Love the footprint one!! Will remind me when my guy's feet were tiny 😉 cuz we all know that doesn't last!
Jessica Cali says
This Olaf is the absolute CUTEST!! I think I'll be making him soon!
Kara says
The ornaments made by family members are always the ones you never want to throw away. I'm definitely going to try this for Christmas this year.
Carol L says
Oh these are precious. I love the tip about the baking pan. I definitely will have to get the grankids together so we can do some o these. Thanks so much for the post.
Carol L
Lucky4750 (at) aol (dot) com
Holly Arjona says
SO cute!! I am going to try this with my kids. Hopefully it turns out as good as yours:)
Suzanne Michele says
These are really cute! I'll have to try them with my son.
Jay Malone says
This is fantastic - I think we'll be doing this with the kiddo this weekend!
Tran Steel says
These were a hit last year. O think this year besides the handprint, we might mod podge a photo on the back too.
Lisa Coomer Queen says
This is such a neat idea! I think I will have my grandchildren over (all 8) and do this. Could become a tradition! Thank you so much!
Minta Boggs says
This is absolutely adorable! I would love to make some this yr
Shary says
We love salt dough! You can do anything with it!
Dee Lafrenz says
I love the idea of the footpints and handprints. What a wonderful Christmas present.
Sabrina Wilmot says
I will be making these with my kids! Thank you for the recipe and tips!
Toscha says
This is so cute. I have done the paper hands and feet many of times in fact I think I have done that craft for the past 5-7 years and my daughter is 8 now LOL time for something new. My daughter is suppose to knead progressive OT puddy for her hands so kneading this dough will be a great way to get some extra OT in without her knowing that she is doing it. I homeschool her so this covers many subject areas for us as well. Bonus!!!! Plus we just moved into a new apartment this year so we need some new decorations for Christmas that way Santa knows where she is now living. Yes we sent Santa a letter already letting him know about our new address but these hand crafted decorations will help Santa find her a little easier. Thank you for sharing. I can see us doing these for other holidays that come up like Easter eggs. Looks like my cookie cutters will be used a good bit this year all because of this. Thank you
Katie Evans says
Hi! I run a childcare center and am wondering, if I make the dough the night before, and store it in a leftover container, will we be able to use it the next day?
joni says
Warning with these. Do not let your pets near these. Can be very fatal. This just happened in our neighborhood. So very sad. They are like poison to dogs. http://www.wpxi.com/news/news/national/family-sends-warning-after-dog-dies-following-inge/npmjh/ Just passing on info.
Suzanne Holt says
Great personalized touch to include the handprints!
Maggie Jakubczak says
Thanks for sharing this! It is one of my favorite memories as a child and will have my children make their own memories this winter too! I also appreciate the previous poster sharing about the danger for animals! - noted.
Lisa Garland says
These are so cute, I love them all. My niece and nephew are gonna stay a couple days with me and I think we will make these, they will love it. Thanks for sharing!!
Rachel says
my kids would go nuts for Olaf! thank you for sharing. Can't waiting to try these!
Kathryn Cooper says
I have been meaning to make some salt dough ornaments,than you for this timely post!
Trisha pool says
These are precious...A keepsake forever!!
Juliet Cook says
Thanks for this blog! My 4 year old came home with a salt dough santa from school. My 10 year old felt a liitle left out. So to pinterest I went. My nephew came over for the night and they all had fun making their own ornaments. My tree is full of homemade ornaments I have made, it was nice to add their own! Thanks again!
Cook Familt
Ruth V. says
This is so wonderful to hear! Thank you so much for sharing!
LaRhonda A. says
Made these with my 3 year old granddaughter we did the footprint and hand but i let them bake 3hrs and they was still soft in the middle on back i hope they will still hold together because they are super cute.
Rosie says
These are so nice! And they came out so cute they look store bought! And fun to make, too!
Sarah F says
These are so cute! They would definitely make great gifts for the grandparents.
Brandy says
Mine are puffing up. I don't know if I did anything wrong.
Ruth V. says
Sometimes if they're too thick they'll puff up a bit. I learned this yesterday when I made another batch.
Jamie says
Hello, I am attempting to make 30 hand print Ornaments With my 15month old. Is this recipe enough or should I double it? Or even triple it? Not sure how many cup sized circles you can get out of this recipe.
Ruth V. says
Hi! You'll probably want to make three batches for 30 handprints 🙂
Heather S says
These are ADORABLE!
Crystal dowden says
What do u use to seal the oranments ??
Ruth V. says
Hi Crystal, I didn't seal mine and they've held up well for the past 4 years. You could use a clear coat though!
Linda says
I made these back in the 70's with a Campfire group. They lasted over 30 years !!!
Suzan says
Did you use plain flour or self-rising?
Ruth V. says
Just plain flour. Hope that helps!
Carol Wittebol says
I used your recipe and instructions to make salt dough ornaments for Christmas with my three grandchildren this past weekend. It's easy and fun but ours took far more than 3 hours in the oven to dry! I ended up leaving them in over night to make sure they hardened. Other than that, we loved making them! Thanks for the idea!
Stacy Hull says
Do they need to be on a silicone matt or car I just place them of the pan?
Amber says
You can definitely place them right on the pan if you want, the silicone mats just make it easier to remove them when they're finished baking!
Cathy says
200 degrees is this Fahrenheit or Celsius?????? We use Celsius in Australia and 200 degrees C for 3 hours I think is pretty hot so I’m assuming it’s. Fahrenheit??? A slow cook?
Amber says
Yes it's 200 degrees Fahrenheit!!
Gina Sperry says
Hi! Thank you for the amazing recipe year after year. This year I have some extra dough left over. Can I freeze it?
Amber says
I've honestly never tried freezing it before! I feel like it would likely dry out and not be usable, but you could always give it a try!
RosemaryGilvin says
Do these need to be baked right away? I am making them with my preschool class, but I want to take them home to bake them.
Ruth V. says
No! You can bake them after a few hours if needed.
Tee says
How do I ensure they are dried enough and ready to come out of the oven?
Amber says
When they are hard to the touch and no longer look moist, they're ready to come out of the oven!
Kathy says
Can I use parchment paper instead of a silicone mat?
Amber says
Yes, that should work just fine!
Moira says
Does the dough dry quickly after you mix it? I want to make the dough ahead of time, but don’t want it to dry out. Thanks!
Amber says
It does dry out rather quickly! We always make it and use it right away (it doesn't take long to make!). Hope this helps!