If you're looking for easy dollar-store crafts then you've hit the jackpot. I'm sharing one of my favorite dollar store crafts, DIY Sharpie plates. I've got full instructions and inspiration.
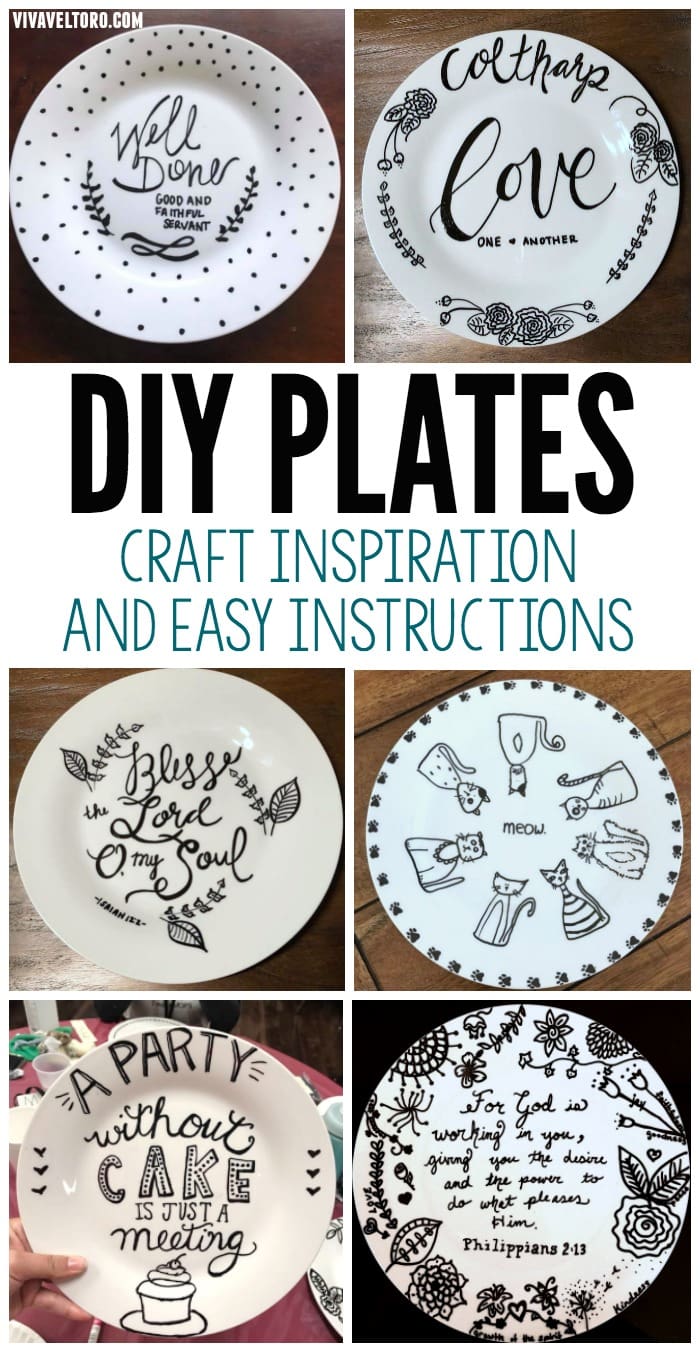
Every few months, my MOPS (Mothers of Preschoolers) group does a fun craft at our monthly meeting. Last month, we needed a last-minute craft since one of our other planned activities fell through. Our crafting coordinator is all kinds of amazing and pulled this one together last minute. Our group's DIY Sharpie plates came out so good that I just had to share them with you. This is probably one of my favorite dollar store crafts ever and was so easy to do for our large group.
DIY Sharpie Plates and Dinnerware
First things first. You need to gather your supplies. You'll need at least 1 plate for every person in your group. We got ours from the local Dollar Tree. They were (you guessed it) $1 each. We also purchased oil-based Sharpie pens for each table. While we chose black for simplicity's sake, there are also available in a rainbow of colors (and in a medium width too).
You'll also need rubbing alcohol and cotton balls and cotton swabs to have on hand in case you make a mistake. If your plate is dirty or dusty, be sure to wipe it with alcohol and let dry before you start.
Then, choose your favorite quote, Bible verse, or anything else your heart desires and start drawing.
DIY Sharpie Plate Inspiration
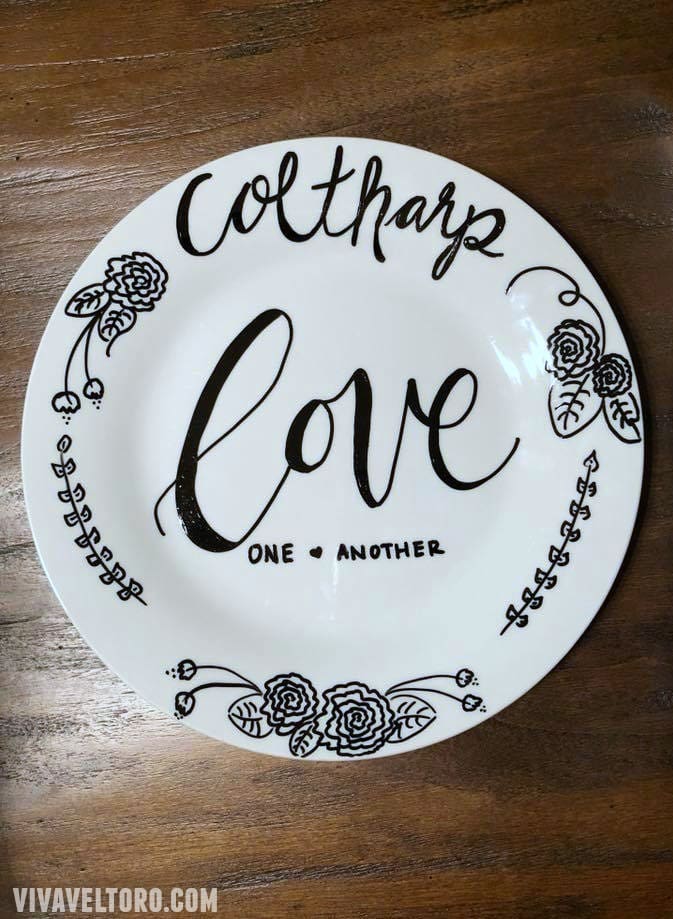
This is a great idea to celebrate your family.
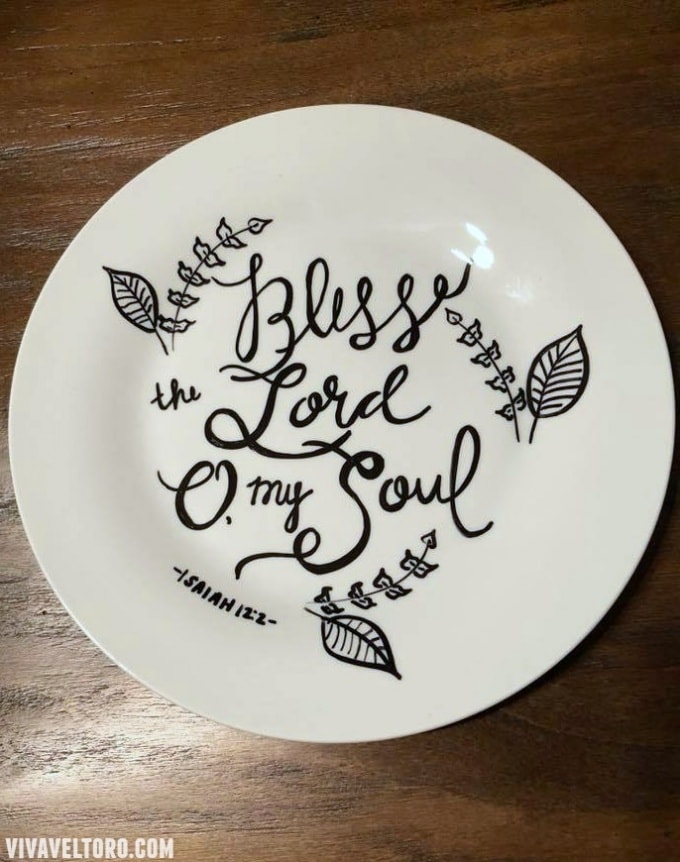
Isaiah 12:2 inspirational DIY Sharpie plate.
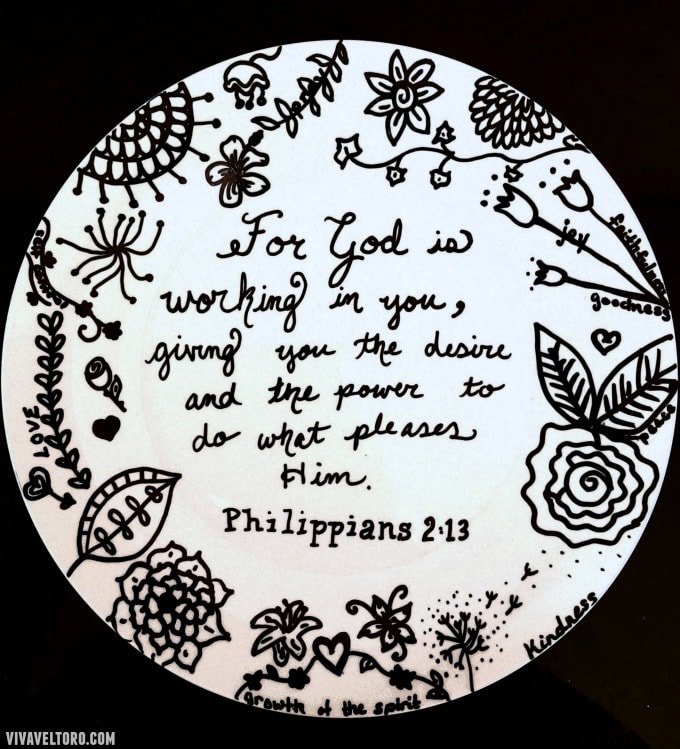
Philippians 2:13. I loved seeing everyone's favorite verses take shape with this craft.
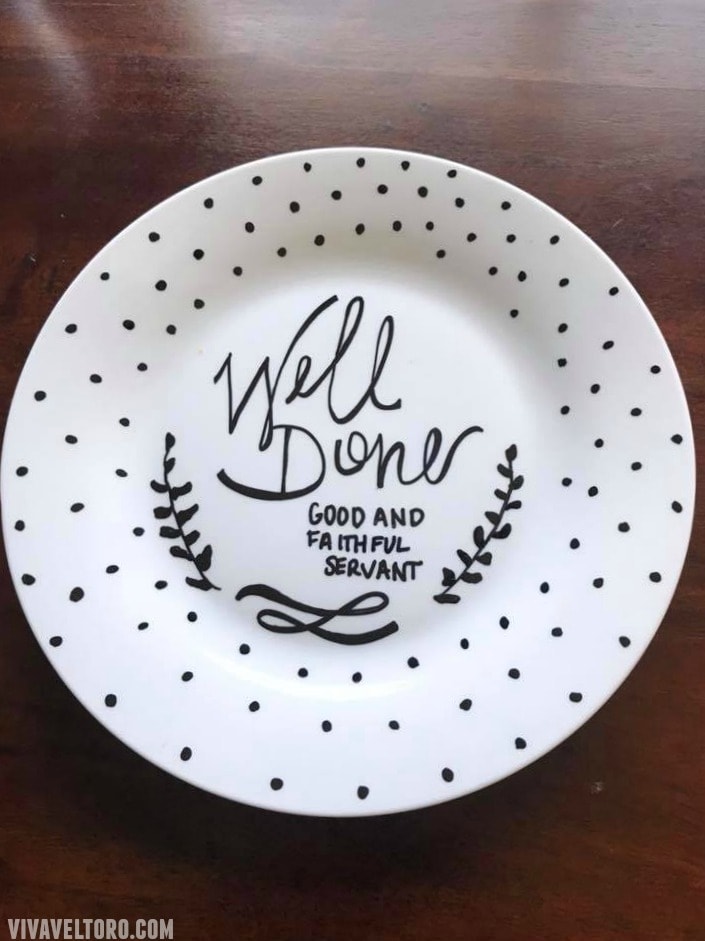
This is my plate and one of my favorite quotes of all time. It's on display in our home using a plate stand. If you're doing this craft as a group and have the budget, it's a great idea to hand these stands out as well.
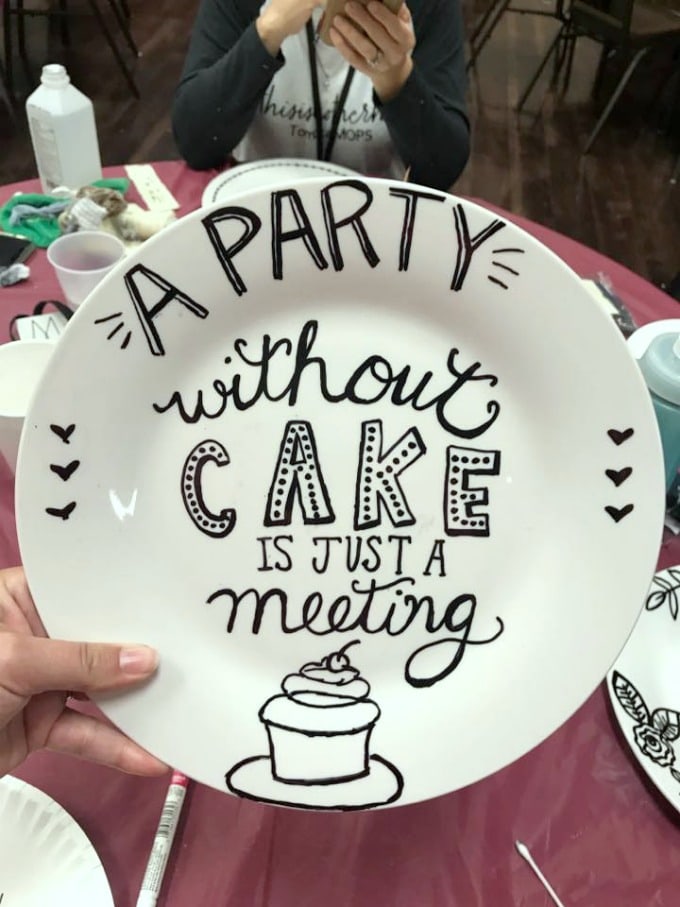
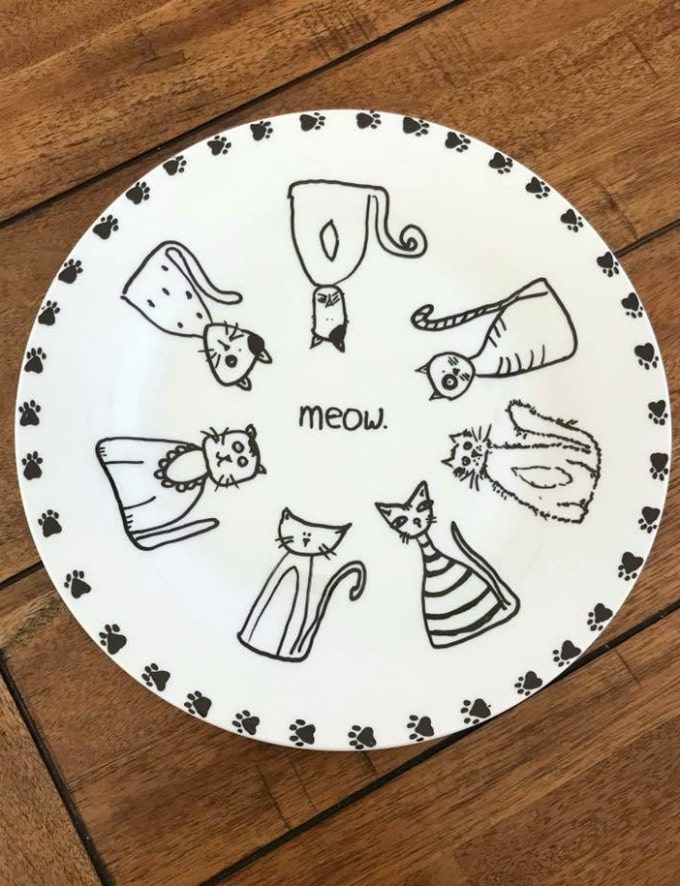
For the cat lovers out there, I think this plate is just adorable!
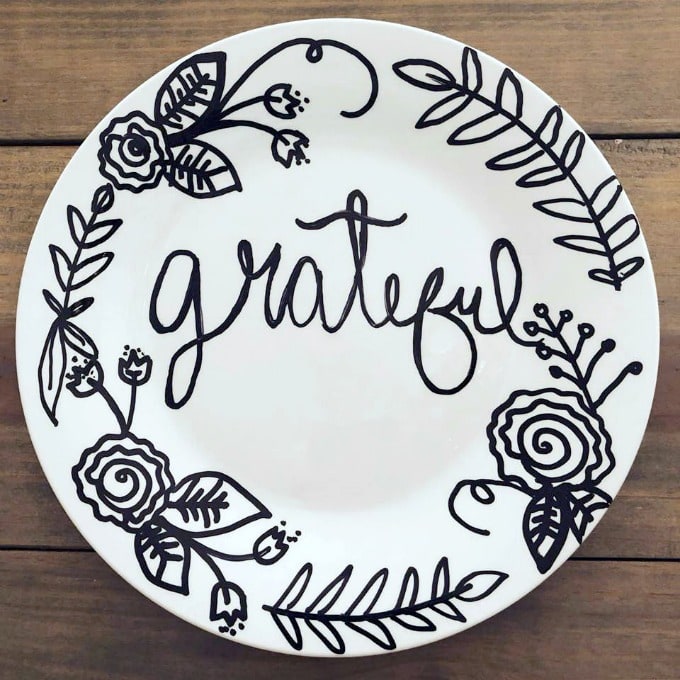
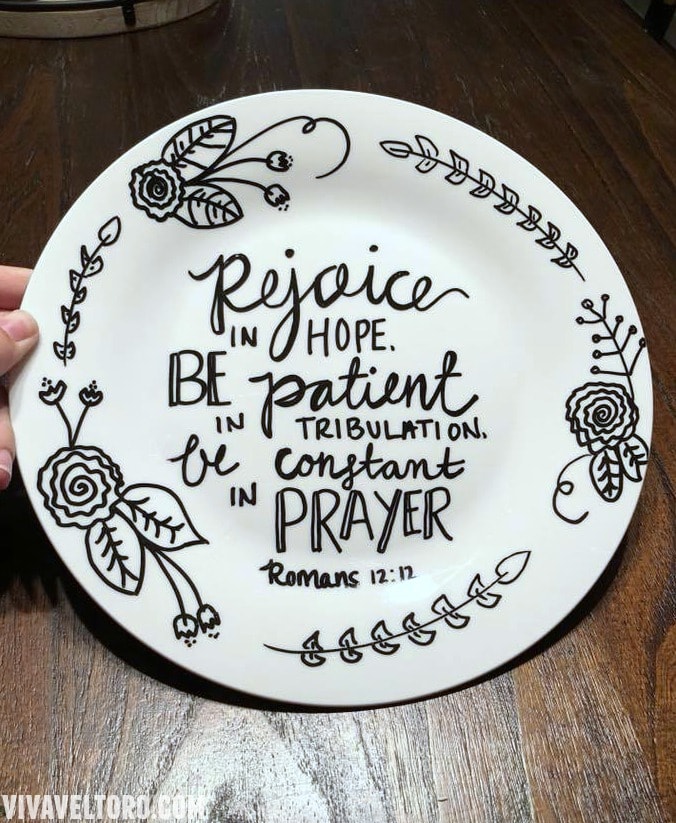
Be sure to write "hand wash only" on the back once you're finished. If it's a gift, you can add something cute like, "Handmade with love." To set the design, place your plate in the oven on grates, then preheat to 250 degrees and bake for 30 minutes. Turn the oven off and let the plate cool down inside the oven.
Super easy and cute, right? If you decide to make these, I'd love to see them! Be sure to tag me on social media (@vivaveltoro) or upload an image to Pinterest so I can see it.
Looking for other fun DIY crafts? Check out our crafts to make and sell and these sewing projects for beginners.


RK says
My son's teacher did this with them to be able to recognize their initials when they used them. Unfortunately, even with handwashing only (and very gentle wiping), the Sharpie did come off slowly but surely. Now, it's just a plain plate, and while he remembers it was from his teacher, and it holds sentimental value, there no longer is a design (wish I'd taken a picture of it). He loves that he has a special plate that's just for him, though. (Maybe I should redo it? Would that work? I just thought of that idea.)
Ruth V. says
Oh, that's a bummer! I haven't washed mine that much! You could definitely redo it for him!
Sandra Watts says
These are cute and such a nice idea. Very inexpensive too which is a plus.
Cathy says
I’ve been doing this with grandkids and now with little ones I babysat for and every one loved it ♥️♥️♥️♥️♥️
Narelle says
Is the temperature 250 degrees Celcius or Fahrenheit please? I can't wait to try it
Ruth V. says
Fahrenheit. Sorry about that!